REVIEW · MOAB
Moab: The Windows Astro-Photography and Stargazing Hike
Book on GetYourGuide →Operated by Moab dark sky tours · Bookable on GetYourGuide
Moab’s night sky is different when you’re standing under the Arches. I love the chance to capture the Milky Way with real photo guidance, and I also like the small group pace that keeps you moving (without rushing your shots). The route is only about 2 miles, but it is still dark hiking on uneven ground, so you’ll want proper shoes and comfort in the dark.
In This Review
- Quick hits: what makes this hike special
- Why the Arches Windows are perfect after dark
- Meet at the Windows parking area: the first setup that matters
- The 2-mile rock garden walk: North Window, Turret Arch, Double Arch
- How the guide teaches night photography (phones and cameras)
- Milky Way time, plus what to do when the moon is involved
- Price and value: $175 per person, plus the Arches entry pass
- What to bring: camera, shoes, water, and a charged phone
- Who this tour fits, and who should skip it
- Should you book Moab’s Windows astro-Photography hike?
- FAQ
- FAQ
- Where do I meet for the tour?
- How long is the hike?
- How far do we hike?
- Is the group small?
- What’s included with the ticket?
- What should I bring?
- Can I rent a DSLR camera or lens?
- Does the price include the Arches entry pass?
- Is the tour good for phone photography?
- Is it suitable for young kids or wheelchair users?
Quick hits: what makes this hike special
- Red LED headlamps and tripods make night shooting possible without fiddling in the dark.
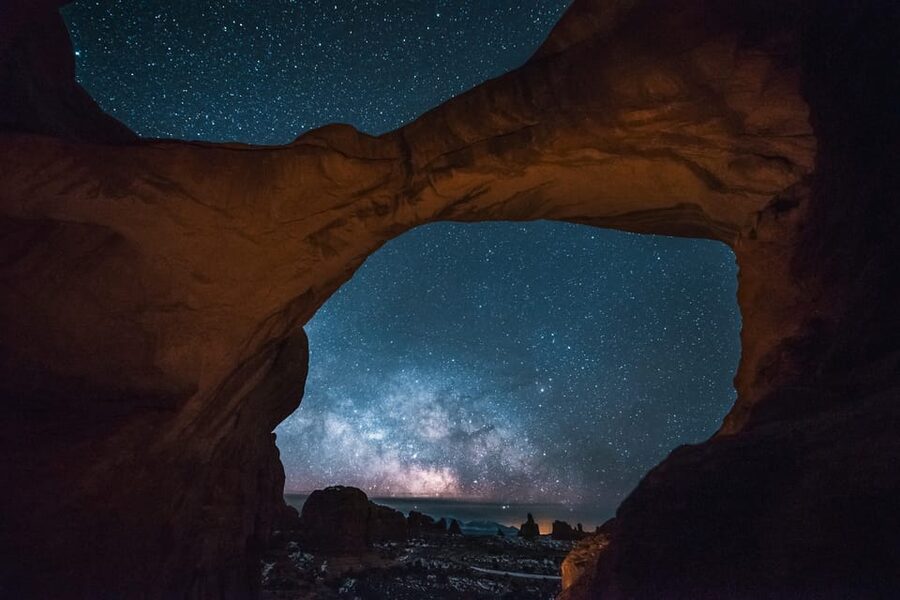
- Milky Way viewing with the naked eye, plus tips to turn what you see into a camera-ready image.
- A guide with strong photo chops (often Sam or Brandon), with hands-on coaching for phones and cameras.
- Real Arches highlights after dark: North Window, South Window, Turret Arch, and the Double Arch moment.
- Lunar-cycle flexibility: you’ll learn how full moon vs darker nights changes the look of the sky.
- Optional DSLR camera or lens rental if you want better control than a phone alone.
Why the Arches Windows are perfect after dark
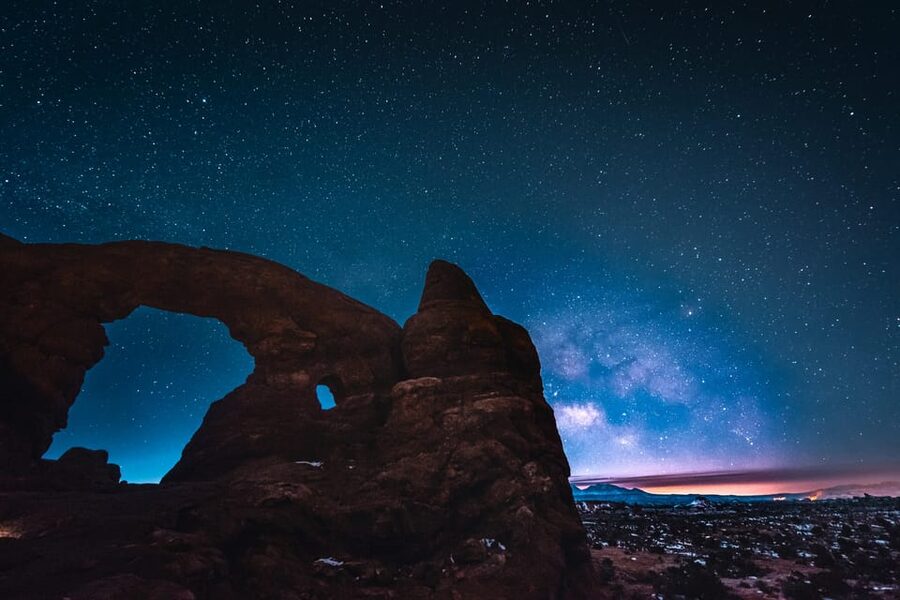
The Arches National Park area around the Windows gets you far enough from city glow that the sky feels like it has depth. On clear nights, you’re not just seeing stars—you’re aiming your camera at the kind of band of light most people only recognize in photos. That’s the big value here: you’re getting a dark-sky walk and the instructions to translate that darkness into images you’ll actually want to keep.
I also like that this tour treats night photography as a skill you can learn in real time. You’re not handed a checklist and sent off on your own. You’ll get guidance you can repeat later, including how to use your phone when conditions or gear aren’t ideal.
One more practical note: the experience is priced at $175 per person for a 2-hour outing, which is not cheap. The good news is that the tour includes the key night-hike tools (guide, red headlamps, and tripods if needed). The not-so-good news is that you still need to plan for the Arches entry pass and decide whether the DSLR rental is worth the extra cost for your goals.
You can also read our reviews of more tours and experiences in Moab.
Meet at the Windows parking area: the first setup that matters
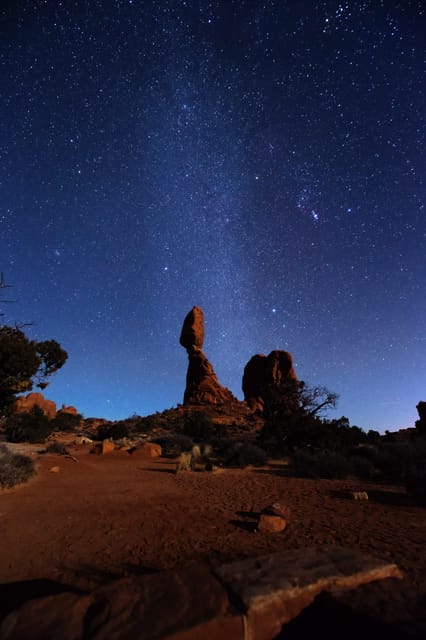
This hike starts at the Windows trailhead area—meet at the Windows parking area in the first parking lot on the right. Since it’s an after-dark experience, the first minutes matter. You’ll meet your guide and get oriented before you start hiking through the dark.
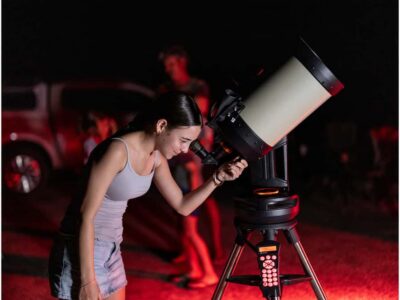
You’ll receive red LED headlamps, which is the smart kind of light for astronomy. Red keeps your eyes from shutting down, so you can keep spotting stars and setting up shots. You’ll also have access to tripods (if needed), which makes a huge difference because night images often require longer exposure times than handheld phone shots can reliably handle.
Right away, the tour also gives you a gear path. If you want to shoot at a higher level, you can request a DSLR camera and/or DSLR lens rental before the tour begins (an additional fee). That lets you decide based on your comfort and how serious you want your images to be, rather than committing blindly at home.
Finally, you’ll be hiking as a group of up to 6 participants, so you can ask questions without feeling like you’re competing for attention. That’s a real advantage for a hands-on nighttime activity.
The 2-mile rock garden walk: North Window, Turret Arch, Double Arch
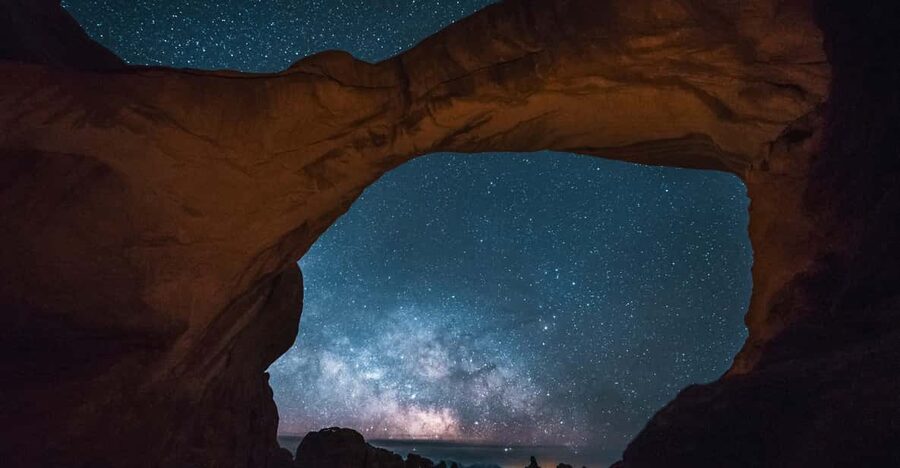
You’ll hike roughly 2 miles total, following a guided route that takes you past Arches rock formations and viewpoints built for framing. The terrain is part of the experience, and it’s also why shoe choice matters.
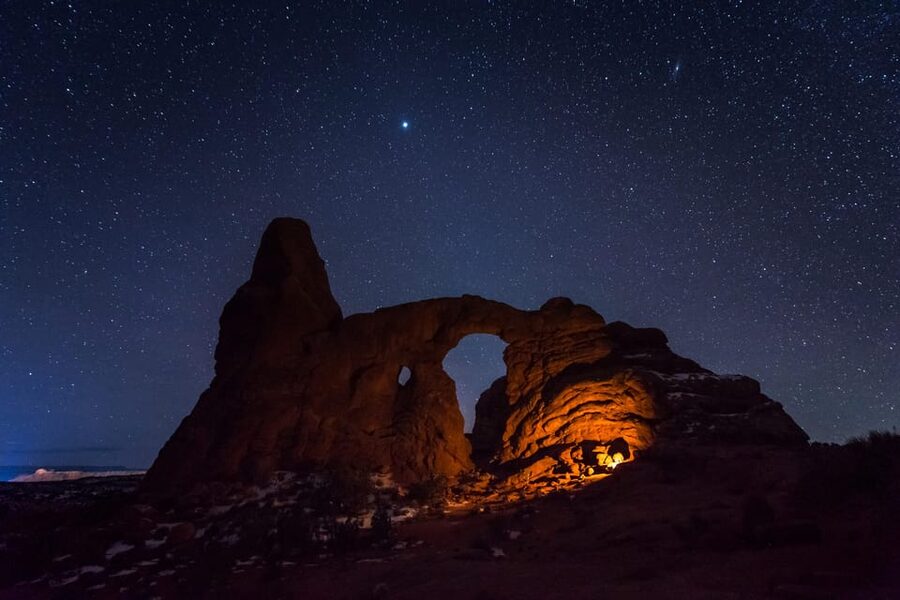
Along the way, you’ll see the North Window and South Window, plus Turret Arch. In daylight, these are impressive. At night, they become something else: you’re thinking about angles, scale, and how the sky lines up over stone. It’s a good moment to slow down and learn the “why” behind photo choices, like how composition changes when you’re working with limited light.
As you move through the rock garden, your guide will connect the formations to the forces that shaped them. That matters because it helps you photograph with context. Instead of just pointing a camera upward, you’ll know what you’re framing and why the arch silhouette looks dramatic against the star field.
The highlight is time near the Double Arch, where you’ll likely spend your best stretch of “make the photo” effort. Since you’re going to be shooting in darkness, you’ll get time to practice your new skills before you head into that final, most-expected photo moment.
You should also know this: you might not see every detail you capture. The tour notes that photos may pick up light you can’t see with the naked eye. That’s normal for astrophotography, and it’s one reason the guide’s instruction helps. You’ll learn how to get more than what your eyes alone can confirm.
How the guide teaches night photography (phones and cameras)
The best part of this kind of tour is not just the sky—it’s the coaching. The guides here tend to focus on practical techniques you can use right away. In past outings, guides like Sam and Brandon have helped people build confidence with both cameras and phones, and they’re patient about repeating the basics when someone needs a second try.
Expect a focus on fundamentals like exposure and stability. Stability is the big deal at night. Even a small movement can blur a shot, which is exactly why tripods are included and why you’ll set them up during the hike. The guide will also help you understand how to frame so your shot includes the arch shape and the star field rather than just random sky.
If you’re using your phone, you’ll still benefit. You’ll learn techniques that help your phone capture better night detail than a typical camera app would. Several participants have walked away with guidance they could use again, even without DSLR gear.
If you want the higher-control path, renting a DSLR camera or lens can be worth it. The tour offers rental options with common mounts like Canon EF/EFS and Nikon F. For me, the decision comes down to one question: do you want to keep learning beyond this trip? If yes, DSLR rental can turn this hike into a serious practice session. If you just want clear, memorable sky shots and you’re comfortable with phone photography, you can still have a strong result without renting.
Milky Way time, plus what to do when the moon is involved
Night skies change with the lunar cycle, and this tour actually prepares you for that. The guidance you get encourages you to enjoy the experience at various points in the moon cycle because each phase changes the look of the sky.
- With a brighter moon, you can often see the formations more clearly while still capturing stars.
- With a darker sky, stars and the Milky Way tend to look more dramatic, and exposures can be more forgiving for some astrophotography styles.
In one past outing, the sky delivered northern lights visible on a clear night, which is the kind of surprise you hope for when you book a dark-sky experience. Aurora sightings aren’t guaranteed, but the setup puts you in the right place to notice them if nature decides to cooperate.
Also keep in mind the tour note about what your camera might capture. Since photos can pull in faint light your eyes can’t see, your “results check” might look better than what you remember staring at on the ground. That’s not a gimmick—phones and cameras can record light differently than human vision.
One more practical takeaway: if you prefer the darkest sky, the tour indicates you can contact the provider so they can make sure the timing matches your preference. That’s a smart move if you’re chasing maximum Milky Way impact.
Price and value: $175 per person, plus the Arches entry pass
At $175 per person for a 2-hour guided experience, you’re paying for three things: expert guidance, gear support, and the fact that this is a nighttime walk inside one of the best-known photo areas in Utah.
Here’s what you get for that rate:
- A live guide
- A guided walking tour
- Red LED headlamps
- Tripods (if needed)
Not included:
- Transportation to the meeting point
- The Arches National Park entry pass (listed as $30 per standard vehicle)
- DSLR camera and/or lens rentals (available for an additional fee)
To judge value, I think about what would be annoying to DIY. Without a guide, it’s easy to show up at the right trail and still miss the photography part. You’d need to learn settings, troubleshoot phone vs tripod vs exposure, and figure out composition in darkness. Paying for a guide saves you time and avoids the common “we saw stars but didn’t get the photos” disappointment.
If you already know your way around DSLR astrophotography, DSLR rental might be unnecessary. If you don’t, the included tripod plus instruction may get you great shots with your phone. The DSLR rental becomes a “step up” for sharper control and more detailed images, especially if you have lenses or a camera body you plan to use later.
What to bring: camera, shoes, water, and a charged phone
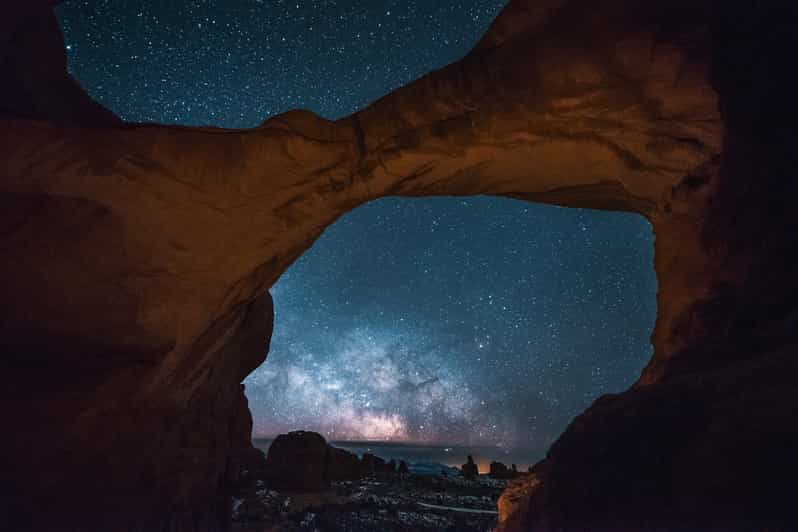
This is a hike-first tour, even though it’s about stargazing. Bring a camera and wear hiking shoes you trust on uneven ground in the dark. Add water, because even at night your body still works on a 2-mile route.
A charged smartphone matters because the guide will likely help you use it effectively. Even if you rent DSLR gear, your phone is still handy for quick framing checks and constellation references.
If you forget something, it’s not just a comfort issue. At night, missing gear can reduce your chances of getting the shot you came for. Plan for the basics and you’ll spend your energy on shooting, not problem-solving.
Two clear rules to keep things easy:
- No pets are allowed.
- This is not set up for people who need mobility accommodations.
Who this tour fits, and who should skip it
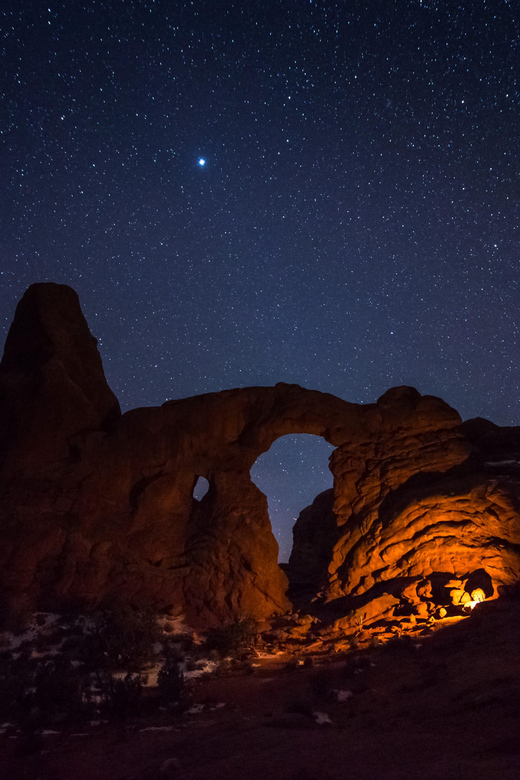
This hike is limited to participants aged 6 and up. It’s also not suitable for people with mobility impairments or wheelchair users. If you’re worried about uneven footing, double-check your comfort with dark hikes before booking.
The small group size (up to 6) is a plus if you like questions and slower pacing. It also helps the guide keep track of everyone while you’re moving between photo stops.
This is also a good fit if you’re:
- New to night photography but want hands-on teaching
- Interested in capturing the Milky Way and arches together
- Hoping to learn phone techniques rather than relying on luck
If you’re a total beginner, the coaching helps you feel like the night is something you can work with, not something you just watch. If you’re more experienced, you still get tripod and composition guidance, plus a route built around recognizable arch landmarks.
Should you book Moab’s Windows astro-Photography hike?
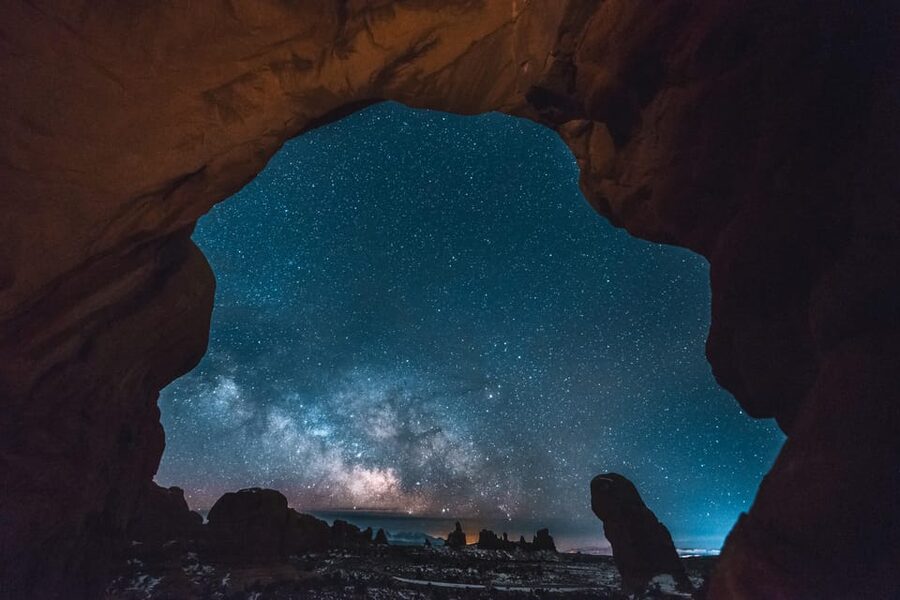
Book it if you want a practical dark-sky experience with the right tools. The combination of red headlamps, tripods, and a guide who can help with both phones and DSLR setups is what makes this more than a casual stargazing walk.
Skip it if you can’t do dark, uneven hiking. Also consider cost: $175 plus the Arches entry pass is a commitment. If you’re only looking for casual star spotting, you might feel the price more than necessary. But if you care about leaving with real photos—especially Milky Way images over Arches—this setup is built for that goal.
FAQ
FAQ
Where do I meet for the tour?
Meet at the Windows parking area in the first parking lot on the right.
How long is the hike?
The experience lasts about 2 hours.
How far do we hike?
The tour starts at the Windows trailhead and involves roughly 2 miles of hiking.
Is the group small?
Yes. The tour is limited to 6 participants.
What’s included with the ticket?
Included are the guide, the walking tour, red LED headlamps, and tripods if needed.
What should I bring?
Bring a camera, hiking shoes, water, and a charged smartphone.
Can I rent a DSLR camera or lens?
Yes. You can request rental of a DSLR camera and/or DSLR lens before the start of the tour, for an additional fee.
Does the price include the Arches entry pass?
No. The Arches entry pass is not included and is listed as $30 per standard vehicle.
Is the tour good for phone photography?
Yes. The experience is designed to help you take great night photos, including with your own phones.
Is it suitable for young kids or wheelchair users?
It’s not suitable for children under 6 and it’s not suitable for people with mobility impairments or wheelchair users.