REVIEW · MOAB
Moab: The Windows Astro-Photography and Stargazing Hike
Book on GetYourGuide →Operated by Moab dark sky tours · Bookable on GetYourGuide
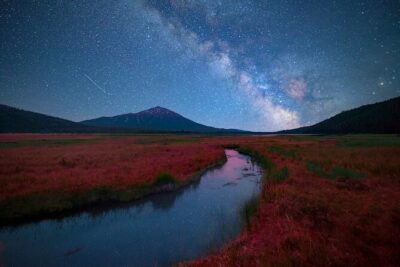
Seeing The Windows under Milky Way light is unreal. This guided astro-photography and stargazing hike takes you into Arches National Park after dark, where you’ll learn how to capture the galaxy as it moves across the sky.
I especially like two things: you get a small-group guide who teaches you how to shoot, and the experience takes place far from city light so the stars actually look like stars. One thing to consider: if the Moon is bright, your Milky Way photos (and the naked-eye view) can be less dramatic, though the night sky still has plenty to offer.
If you’re choosing between a basic stargaze and a hands-on photo night, this one is built for learning.
In This Review
- Quick Hits Before You Go
- A Night Hike at The Windows: What This 2-Hour Tour Really Feels Like
- Meeting at the Windows Trailhead: Headlamps, Tripods, and a Dark-Sky Mindset
- Milky Way Magic Away From Moab Light Pollution
- North and South Windows and Turret Arch: Stops That Make Photos More Than Pretty
- North and South Windows under the stars
- Turret Arch: a “pause and align” moment
- Astrophotography Basics: How Your Guide Helps You Shoot Like You Mean It
- What you’ll practice during the tour
- Phone vs DSLR: The Optional Rental and When It’s Worth It
- Practice Time Before Double Arch: Where the Best Photos Usually Happen
- Safety and Comfort on Dark Rock: How the Guide Keeps It Fun
- Price and Value: What You Pay, What You Don’t, and What You Can Control
- What’s not included
- Who Should Book This Stargazing and Astro-Photography Hike
- Should You Book Moab Dark Sky Tours for Astro Photos and Stargazing?
- FAQ
- How long is the Moab Windows astro-photography and stargazing hike?
- Where do we meet for the tour?
- How far do we hike?
- What’s included in the price?
- Do I need an Arches National Park entry pass?
- Can I rent a DSLR camera or lens?
- What should I bring?
- Is the tour good for kids?
- Are pets allowed?
- Is this tour in a small group?
Quick Hits Before You Go
- Small group size (max 6) means more time for your questions about camera settings and shot setup
- Red LED headlamps and tripods help you see and shoot without wrecking the night vision rhythm
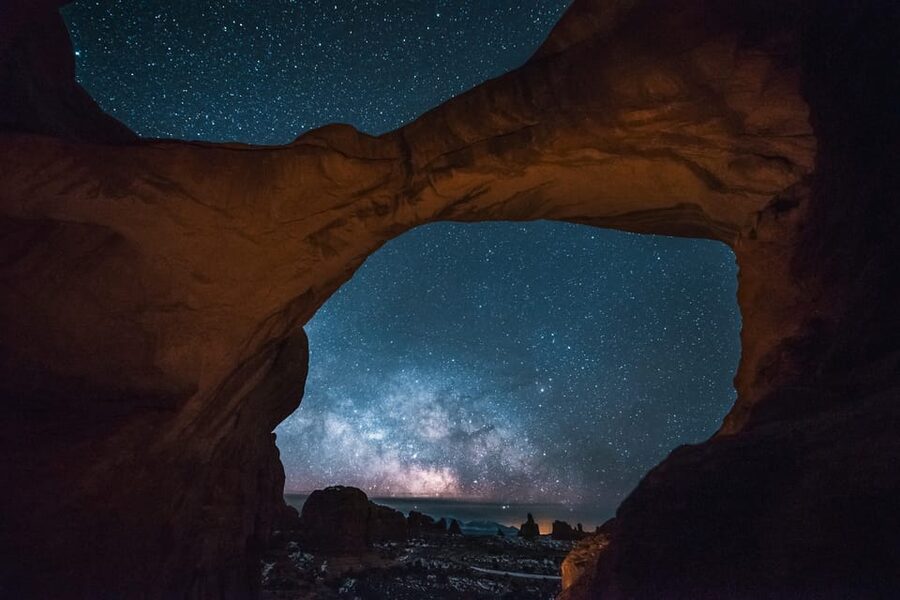
- You’ll pass the North Window, South Window, and Turret Arch before the highlight at Double Arch
- Guides like Sam and Brandon focus on practical photography help, including using your own cellphone
- Optional DSLR rental can upgrade your results if you want sharper, more controlled astro images
- The hike is about 2 miles, so good shoes and steady footing matter in the dark
A Night Hike at The Windows: What This 2-Hour Tour Really Feels Like
This tour is basically two things in one: a short hike through classic Arches rock features and a guided session for night-sky photography. You’re out when most people are indoors, which means the stars feel bigger and the rocks feel more dramatic.
You start at the Windows parking area after dark, then walk a rough 2-mile route. Along the way, you’ll stop at the North and South Windows and Turret Arch, then push toward the highlight at Double Arch for photos of both the arches and the sky.
The vibe is calm and focused. You’re not just admiring the view—you’re learning how to translate it into a photo, even if you’re starting with a phone.
You can also read our reviews of more tours and experiences in Moab.
Meeting at the Windows Trailhead: Headlamps, Tripods, and a Dark-Sky Mindset
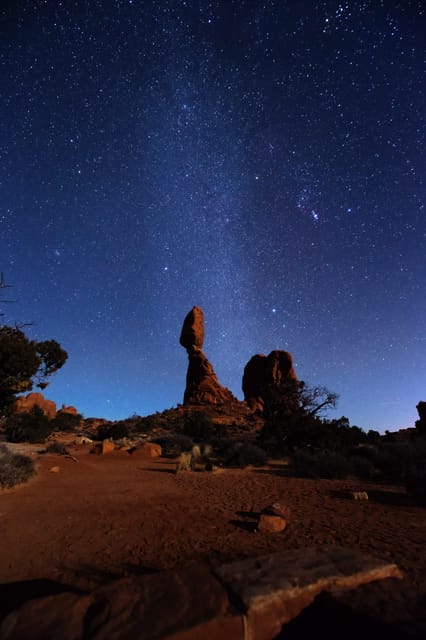
You’ll meet in the first parking lot on the right at the Windows area. Since this starts after dark, you’ll want to be ready to move right away, not wandering around trying to find gear.
Once you arrive, you’ll get the red LED headlamps and—when needed—tripods. That matters because night photography is less about fancy technology and more about stability and timing. Headlamps keep you safe on uneven ground, and tripods help your camera or phone stay steady while you work.
One small but important note: cameras can sometimes pick up light you can’t see with your eyes. That’s good news for photos, but it also means you might notice the sky and the results don’t always look identical.
Milky Way Magic Away From Moab Light Pollution
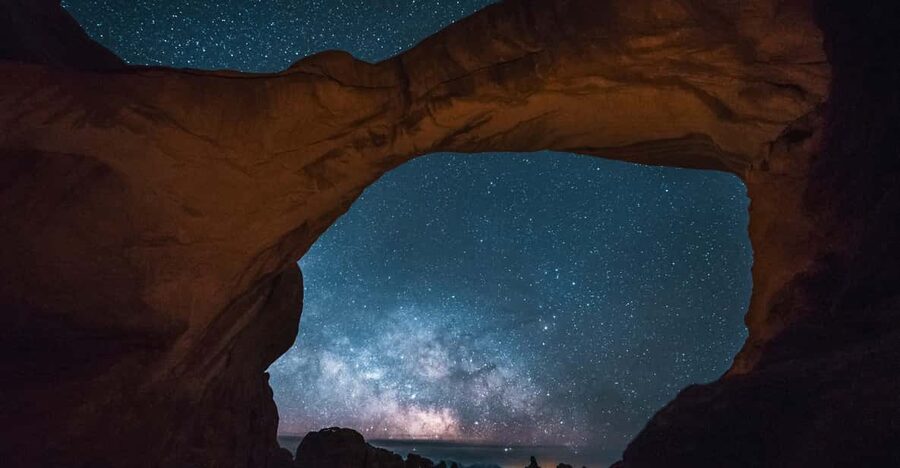
The big payoff here is seeing a real dark-sky sky over Arches. The tour is built around the fact that you’re far enough from city light for the Milky Way to show to the naked eye, not just on a screen.
And the guide doesn’t treat this like a one-size-fits-all night. You’ll be encouraged to enjoy the photo potential at different points in the lunar cycle. In other words, bright moon nights might shift what you see, while darker nights can make the Milky Way more intense.
If you want the darkest possible sky, you can request it ahead of time by contacting the provider so they can make sure the timing matches what you’re hoping to photograph.
North and South Windows and Turret Arch: Stops That Make Photos More Than Pretty
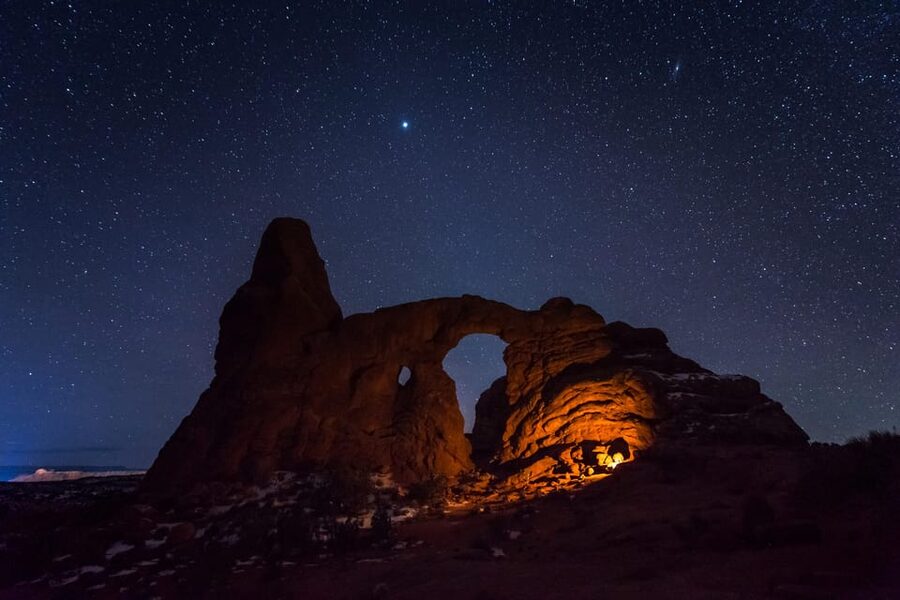
This hike isn’t one long straight walk. It’s a sequence of rock-photo moments that give your brain something to aim at while your camera learns the night.
North and South Windows under the stars
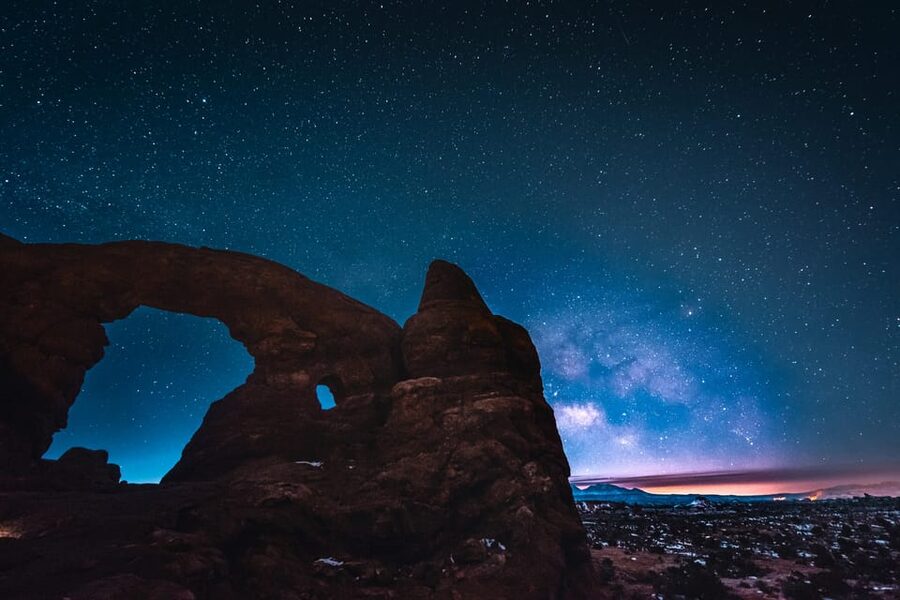
You’ll see both the North and South Windows lit by your headlamp glow and the galaxy overhead. These natural openings create natural framing, so your photos can show the sky as a feature, not just a background.
In practical terms, the guide helps you set up and reframe without rushing. That’s where a short, guided hike becomes more valuable than DIY wandering—you don’t waste time figuring out what to shoot at each stop.
Turret Arch: a “pause and align” moment
Turret Arch gives you another strong silhouette option. It’s also a helpful stop because it lets you practice composition while your eyes adjust. If you’re new to night photography, these earlier arches give you chances to get comfortable before the final push.
Astrophotography Basics: How Your Guide Helps You Shoot Like You Mean It
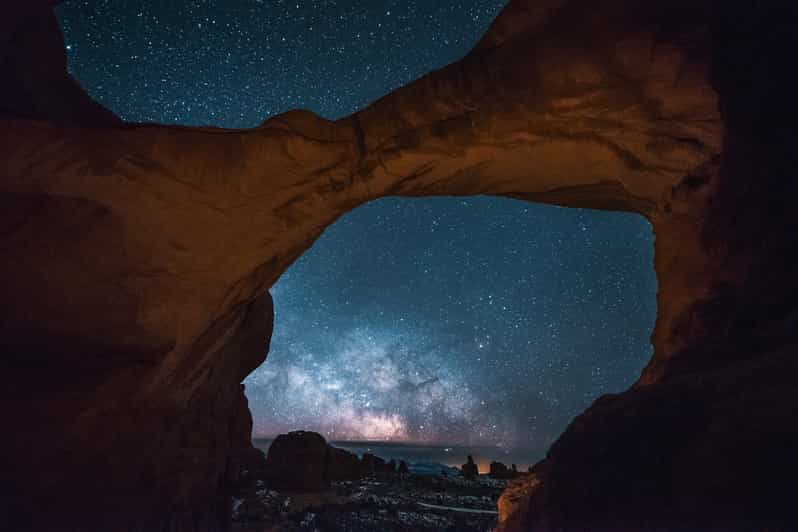
This is not a vague stargazing lecture. You’ll get foundational astrophotography instruction and direction on how to operate your camera for night shooting. The guide also shares practical tips and tricks designed for the real world: moving from one arch framing to the next while the sky keeps doing its thing.
What I like most is that it’s taught in a way that meets you where you are. Some people show up with DSLRs and lenses. Others show up with just their camera plus their charged smartphone. Either way, the guide aims to get you making better images in the time you have.
People have specifically called out that guides helped them use cellphones for impressive shots. So if you’re thinking you need a big camera to participate, you can still have a strong night.
What you’ll practice during the tour
You’ll get time to:
- set up and test shots before committing fully
- adjust your approach as you learn what works on your device
- use the provided gear efficiently, especially where tripods are involved
And because the hike includes actual stops (not just one star field and done), you’ll apply what you learn immediately.
Phone vs DSLR: The Optional Rental and When It’s Worth It
The tour includes support for great results with what you bring, but there’s an upgrade option. You can request to rent a DSLR camera and/or DSLR lens for an additional fee before the start of the tour.
If you already own a DSLR and lenses, you’ll know what you’re doing—or at least what you hope to do. But if you don’t, renting can be the difference between a fun star photo and a sharper, more controlled astro shot.
Here’s the practical way I think about it: your phone is great for learning composition and getting a first Milky Way image. A DSLR rental can help you improve technical quality if you want to push farther. Either way, the guide’s coaching is the glue that makes your results better than guesswork.
Practice Time Before Double Arch: Where the Best Photos Usually Happen
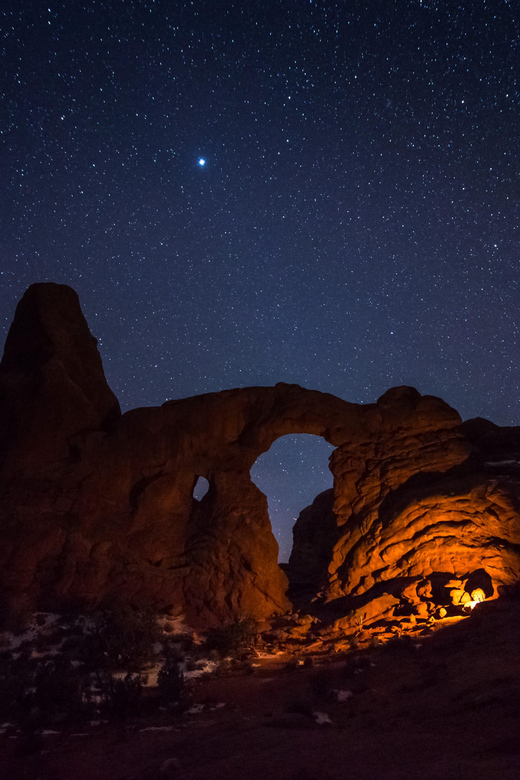
The tour gives you time to practice your new skills before heading to the main highlight. The way this works matters. When you finally reach Double Arch, you’re not starting from zero. You’ve already seen earlier arches, tried setups, and gotten feedback.
Double Arch is the moment you’ll remember. It’s a signature Arches shape, and at night it becomes a powerful silhouette against the Milky Way. Even if your first attempt isn’t perfect, this is when the guided feedback pays off—because you’re already familiar with the basics.
Also, night photography is a moving target. Your guide is effectively managing both the landscape and the schedule so you have a chance to shoot more than once.
Safety and Comfort on Dark Rock: How the Guide Keeps It Fun
A dark hike adds friction. The ground can be uneven, and in low light, distance estimates go out the window. This is where a guide earns their fee.
You’ll be walking near natural drop-offs, and your guide will point out safer positioning and where to avoid getting too close. That makes a real difference, especially when tripods are involved and people slow down while they aim.
Comfort-wise, you’ll cover about 2 miles, so bring hiking shoes with grip. The headlamp helps, but good footwear is still what keeps the hike enjoyable instead of stressful.
Price and Value: What You Pay, What You Don’t, and What You Can Control
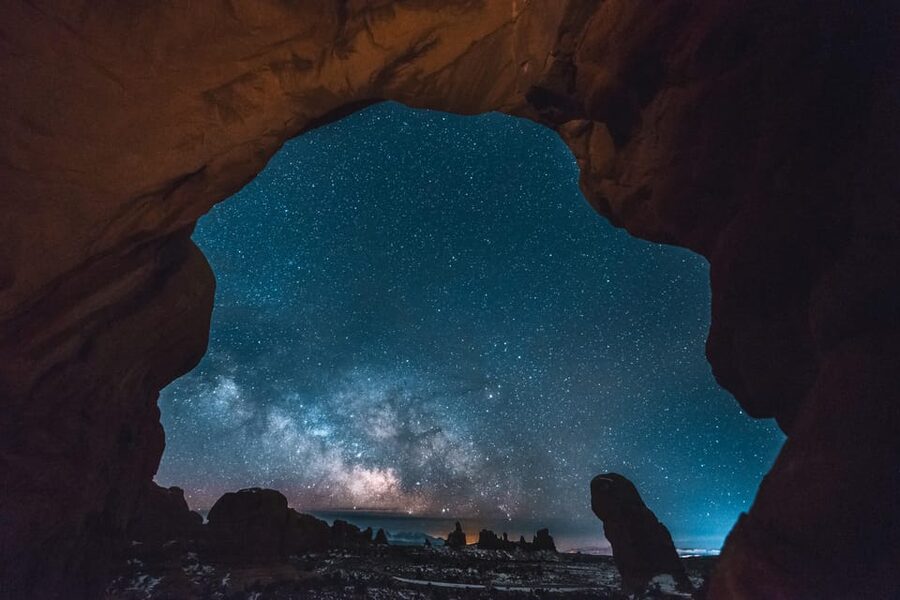
The cost is $175 per person for 2 hours with a live guide in a small group (limited to 6). That’s not a low-cost outing, but it’s also not an experience that hands you a headlamp and leaves you alone with the stars.
You’re paying for:
- instruction in night photography and camera operation
- guided stops at major Arches features like The Windows and Double Arch
- included red LED headlamps
- tripods when needed
- a focused group size that keeps the learning practical
What’s not included
You’ll still need to account for Arches entry pass (listed as $30 per standard vehicle) and transportation to the meeting point. DSLR camera/lens rentals are also an extra fee if you choose to upgrade.
If you’re working on value, the biggest lever is whether you come with a phone, a camera, or the desire to rent a DSLR. Even with a phone, you’ll get guided help, so you’re not forced into expensive gear—but you can choose to spend more for sharper results.
Who Should Book This Stargazing and Astro-Photography Hike
This tour fits best if you:
- want to see the Milky Way from Arches and not just glance at the sky
- enjoy learning hands-on, especially how to photograph rather than only look
- are comfortable with a short hike at night (about 2 miles)
It may not be for you if:
- you’re traveling with pets (not allowed)
- you have mobility limitations or use a wheelchair (not suitable)
- you’re expecting a stroller-friendly stroll (it’s not suitable for children under 6)
If you’re a beginner, you’ll likely appreciate the structured stops and the way the guide teaches. If you’re more experienced, you’ll still benefit from having someone help with setup and shot planning while you’re moving between the Windows and Double Arch.
Should You Book Moab Dark Sky Tours for Astro Photos and Stargazing?
I’d book this if you want real instruction in a real dark-sky setting, and you like the idea of photographing iconic Arches features rather than doing a generic stargaze.
You should also consider booking if you don’t have much astrophotography experience. The tour is built around teaching your camera or phone to work in low light, with guides like Sam and Brandon specifically helping with both safety and photo technique.
Skip it or reassess if you’re not comfortable hiking at night, or if you’re counting on a guaranteed Milky Way blast regardless of lunar conditions. With a bright Moon, the stars can still be beautiful, but the Milky Way impact can shift.
If you’re ready to bring water, hiking shoes, a camera, and a charged smartphone, you’re set for a night that feels equal parts adventure and skill-building.
FAQ
How long is the Moab Windows astro-photography and stargazing hike?
The tour lasts about 2 hours.
Where do we meet for the tour?
Meet at The Windows parking area in the first parking lot on the right.
How far do we hike?
The activity starts from the Windows trailhead and involves roughly 2 miles of hiking.
What’s included in the price?
Included are the guide, the walking tour, red LED headlamps, and tripods if needed.
Do I need an Arches National Park entry pass?
Yes. An Arches entry pass is not included (listed as $30 per standard vehicle).
Can I rent a DSLR camera or lens?
Yes. You can request to rent a DSLR camera and/or DSLR lens for an additional fee before the tour starts.
What should I bring?
Bring your camera, hiking shoes, water, and a charged smartphone.
Is the tour good for kids?
It is not suitable for children under 6 years.
Are pets allowed?
No, pets are not allowed.
Is this tour in a small group?
Yes. The group is limited to 6 participants.