REVIEW · YULARA
Uluru: National Park Astronomy Tour with Telescope and Photo
Book on GetYourGuide →Operated by Uluru Astro Tours · Bookable on GetYourGuide
Dark skies turn Uluru into a planetarium. This 150-minute night outing brings you to low-light conditions in the park, then hands you telescope views of the southern sky against Uluru and Kata Tjuta.
I especially love the way the guides turn what looks like scattered stars into an actual map you can use, with planet and deep-sky targets you might not spot on your own. Names that come up often include Neil and Lucy, and their mix of science talk and indigenous astronomy context is part of the magic.
One thing to consider: it can be a busier setup than you might hope, and you may wait for the included group photo and/or telescope time, especially if the moon is bright.
In This Review
- Key things I’d plan around
- Uluru and Kata Tjuta at night: why the sky feels close
- The 150-minute flow: pickup, drive, and the slow build to dark skies
- What your guide actually does under the stars
- Telescope views: what you might see and how to get the most from your turn
- The “in-between” stargazing: binoculars, lasers, and learning to spot things
- The included professional photo: what it is, what it means, and how to be ready
- Price and value: why $91 can be fair (and when it’s not)
- What to pack for an outback night (and what to skip)
- Group size and the moon: the two factors you can’t fully control
- Who this Uluru astro tour is best for
- Should you book this Uluru astronomy tour?
- FAQ
- How long is the Uluru National Park astronomy tour?
- Is pickup and drop-off included?
- Do I need to bring a National Park pass?
- Are telescopes included?
- Is a professional photo included?
- What languages are the live guides?
- What should I bring?
- Can I bring my own camera and tripod?
- What is the cancellation policy?
- Is there free cancellation and reserve now, pay later?
- Is the tour only for experienced astronomers?
Key things I’d plan around
- Dark-sky location in the park: you’re taken away from light pollution for a more dramatic sky
- Telescope time with real targets: planets and deep-sky objects you can’t see well unaided
- Guided astronomy with indigenous stories: constellation spotting paired with cultural context
- Professional digital photo included: Uluru + night sky in your final image set
- Cold happens fast after sunset: warm layers, closed-toe shoes, and reusable water help a lot
Uluru and Kata Tjuta at night: why the sky feels close
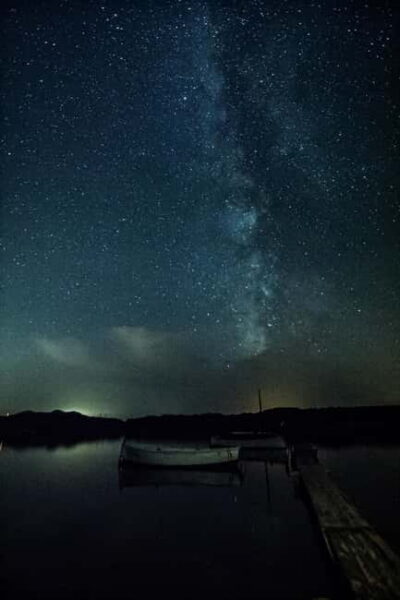
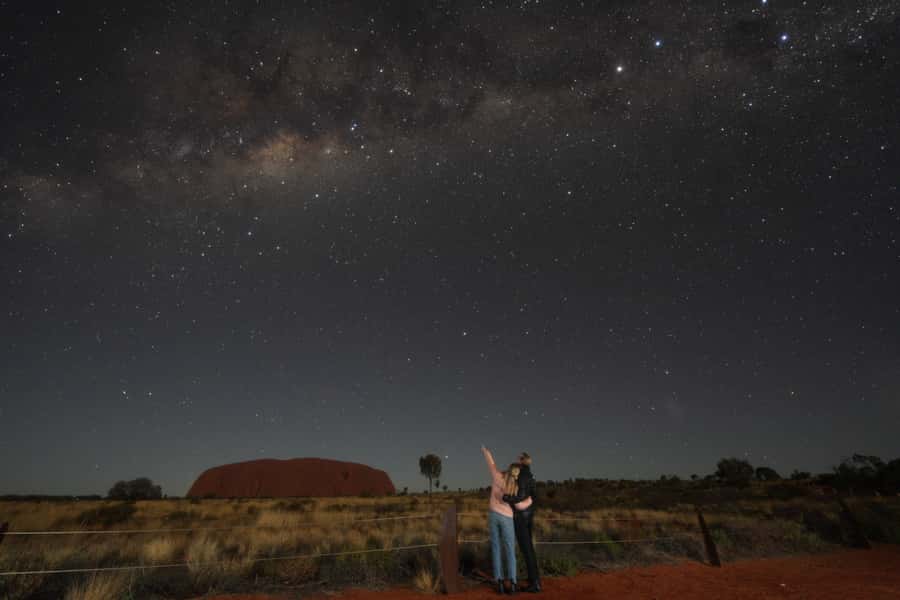
Uluru National Park is famous for daytime views, but at night it changes the whole feel of the trip. When you get outside the glow of towns and resort lights, the sky goes from “pretty stars” to “wow, that’s a lot of sky.” In the best moments, the Milky Way becomes visible as a real band, not just a rumor.
This tour is built around that shift. You’ll start with a short transfer from your accommodation, then move to a stargazing location in the park that’s specifically chosen for darker conditions. The result is that you’re not doing a quick glance and leaving. You’re hanging around long enough for the sky to reveal itself, and the guides keep pointing, explaining, and helping you connect the dots (constellation patterns included).
The 150-minute flow: pickup, drive, and the slow build to dark skies
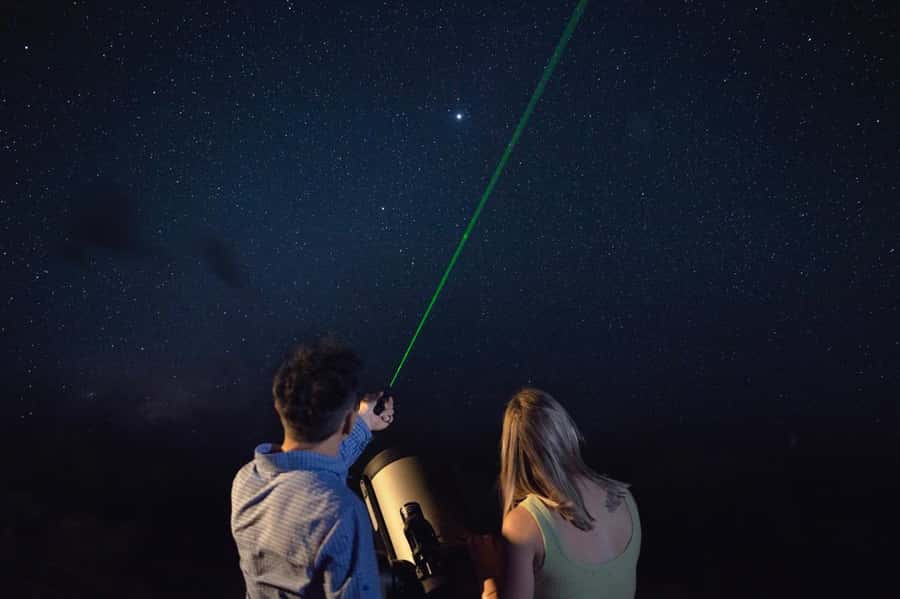
The timing here is part of the value. At 150 minutes total, you get enough hourside time to settle in, learn the sky, and still have telescope moments, without it turning into a half-day slog.
Pickup is included from your accommodation. On the day, you’ll be emailed your confirmed schedule, and when you go, look for a bus labeled Atrip. That small detail matters because nighttime logistics can feel harder than daytime.
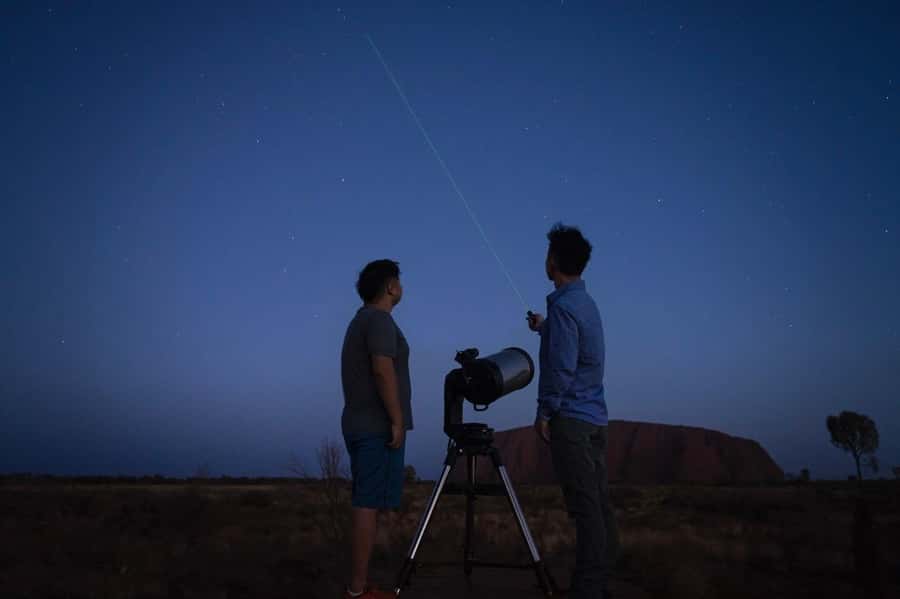
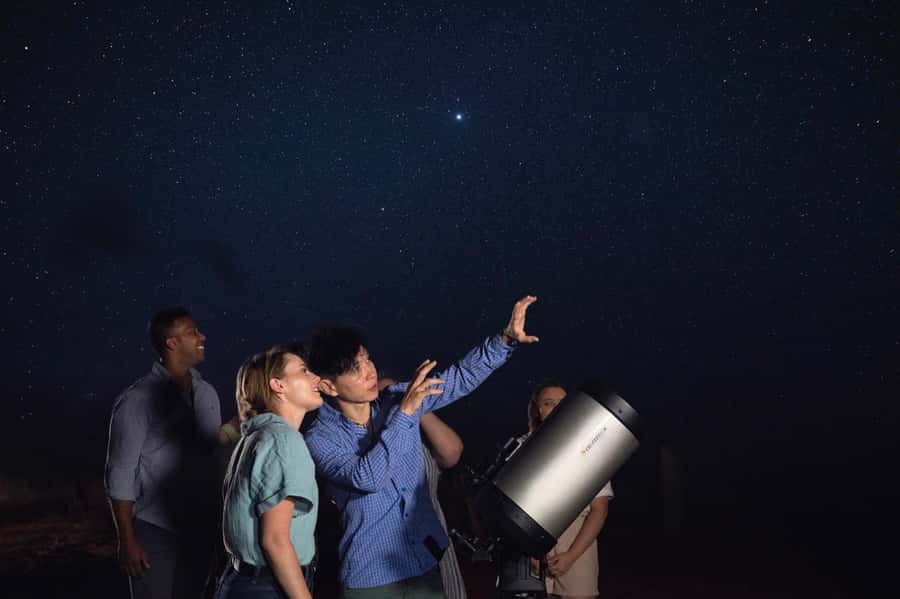
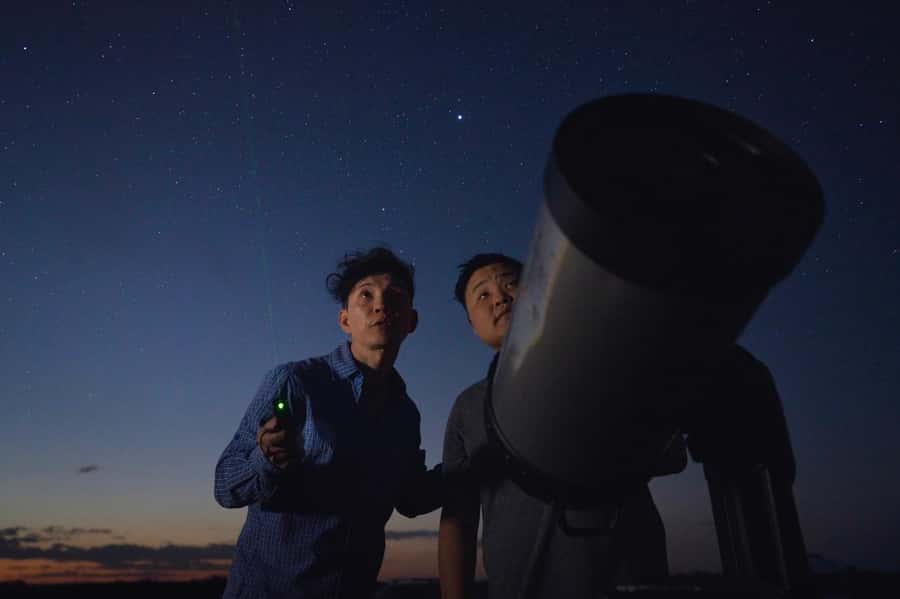
Once you arrive at the stargazing spot, the tour doesn’t start with telescopes immediately. It starts with you getting oriented under the night sky. Guides use clear explanation and visual tools (like laser pointing) to help you find key constellations and standout objects. This matters because once you learn where to look, telescope views feel more satisfying instead of just “I saw something through glass.”
What your guide actually does under the stars
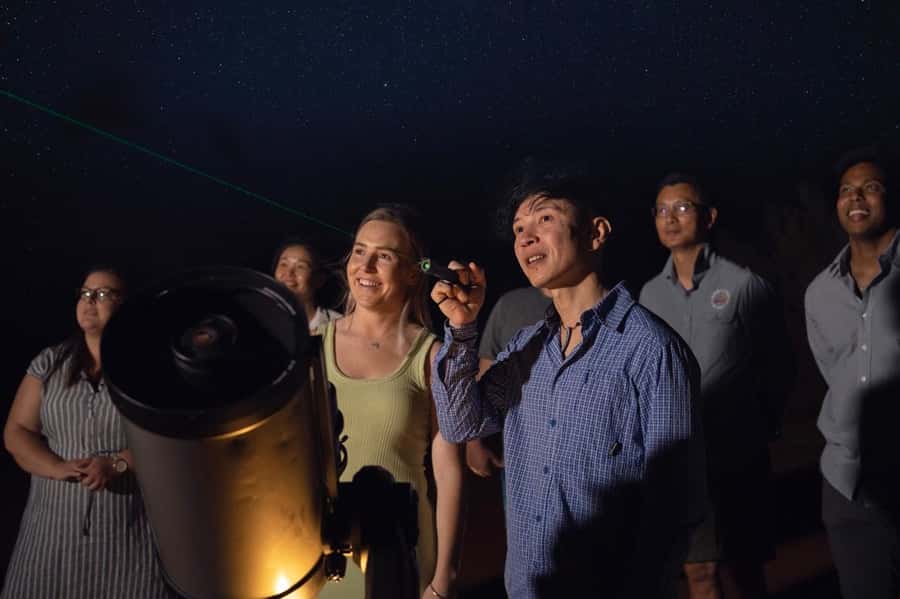
The strongest ingredient in this experience is the guided interpretation. You’re not just watching the sky; you’re learning how to read it. Guides highlight wonders of the Australian night sky and share indigenous astronomy perspectives alongside the science.
In real-life terms, this means you’ll spend time learning the “why” of what you’re seeing. People mention that the guides are approachable and good at answering questions, from beginner level to intermediate curiosity. You’ll also hear stories tied to everyday knowledge systems, not just astronomy trivia.
The tone tends to be fun and relaxed. Multiple guide names show up in feedback, including Neil and Lucy, plus guides like Olina and Zack. Different guides have different styles, but the consistent theme is that you’re guided through the sky in a way that’s easy to follow and not just a lecture.
Telescope views: what you might see and how to get the most from your turn
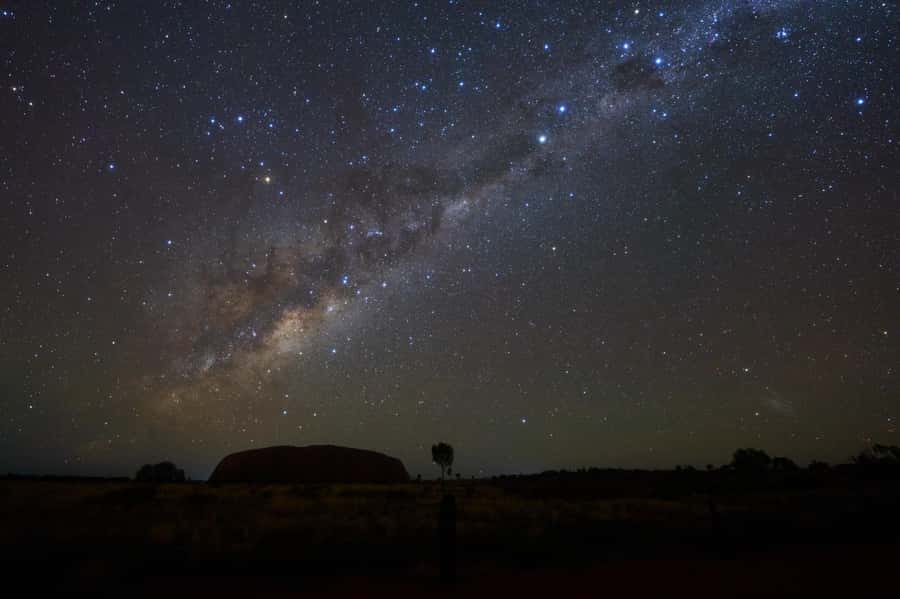
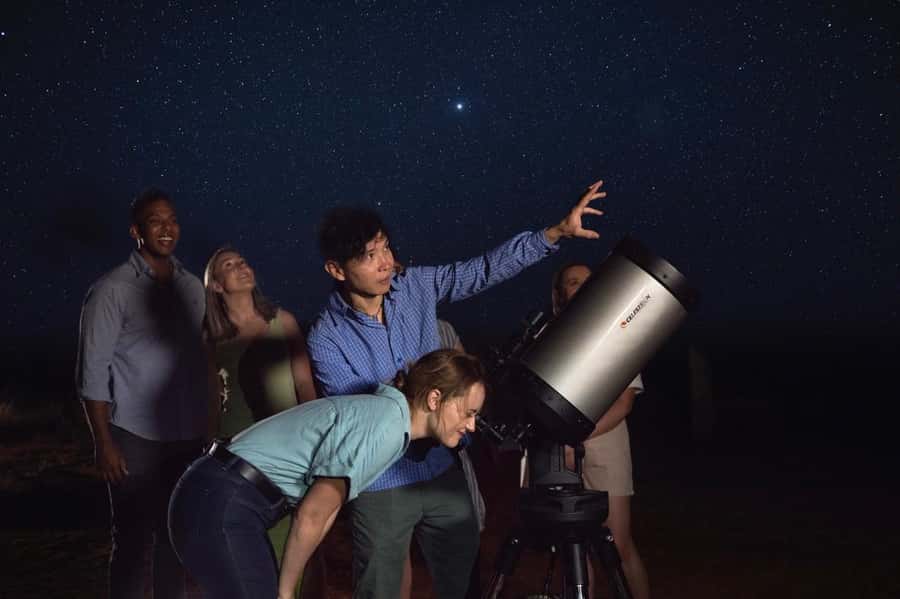
Telescopes are the headline here, but the tour manages them thoughtfully. You get use of high-strength telescopes and binoculars, and the guides help you match what you see in the eyepiece to what you’ve just been shown in the sky.
What kind of targets? Based on reported nights, you may see:
- Planets like Saturn, including views that impressed people with Saturn’s rings
- Star systems that feel mind-blowing in a telescope, including references like Alpha Centauri and other far objects
- Deep-sky targets such as star clusters and nebula-like sights (often described as faint to the naked eye but clearer through equipment)
- Constellations and features that you’ve been pointed to with lasers first, so telescope time builds on orientation
One practical tip: when you get your telescope turn, don’t rush the setup. Ask your guide what to watch for and take a slow look. The sky doesn’t behave like a smartphone camera screen where everything pops instantly. You’re often looking at small, precise details that require steady attention.
The “in-between” stargazing: binoculars, lasers, and learning to spot things
Even if telescopes are the highlight, the in-between parts are what make the experience stick. You’ll spend time spotting constellations and notable objects with help from guides, often using lasers to guide you where to look.
Binoculars are included in the experience, and they’re a smart halfway step. Without binoculars or a guided approach, the night sky can feel like random dots. With guidance, those dots become recognizable patterns, and that makes the Milky Way and the southern sky feel more structured.
A small detail that matters: clear, calm explanations make it easier to remember what you saw. People mention that the storytelling and science connect in ways that help you learn without getting lost in statistics. If you’re bringing teens or a mixed group, this is one of those tours where the guide keeps everyone “in the story,” not just in the equipment.
The included professional photo: what it is, what it means, and how to be ready
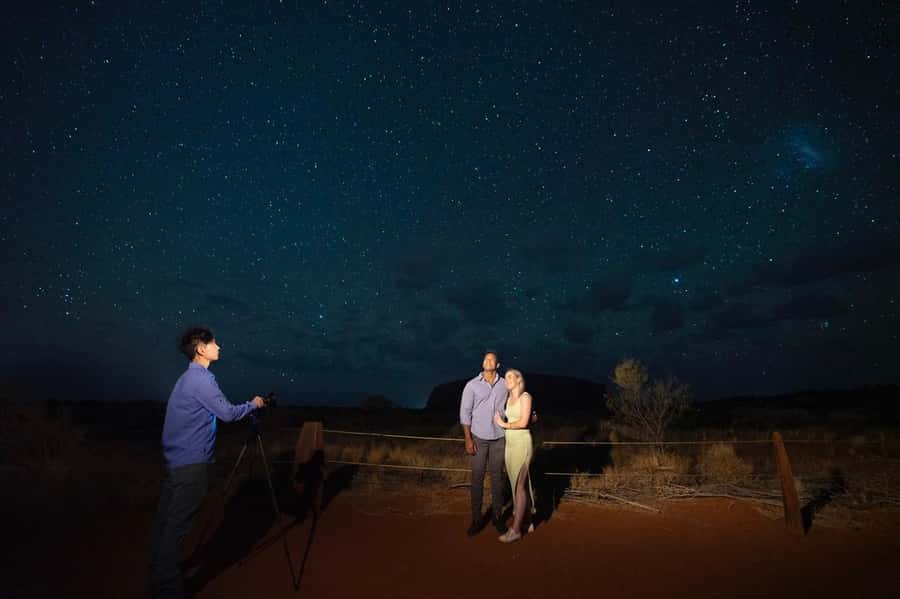
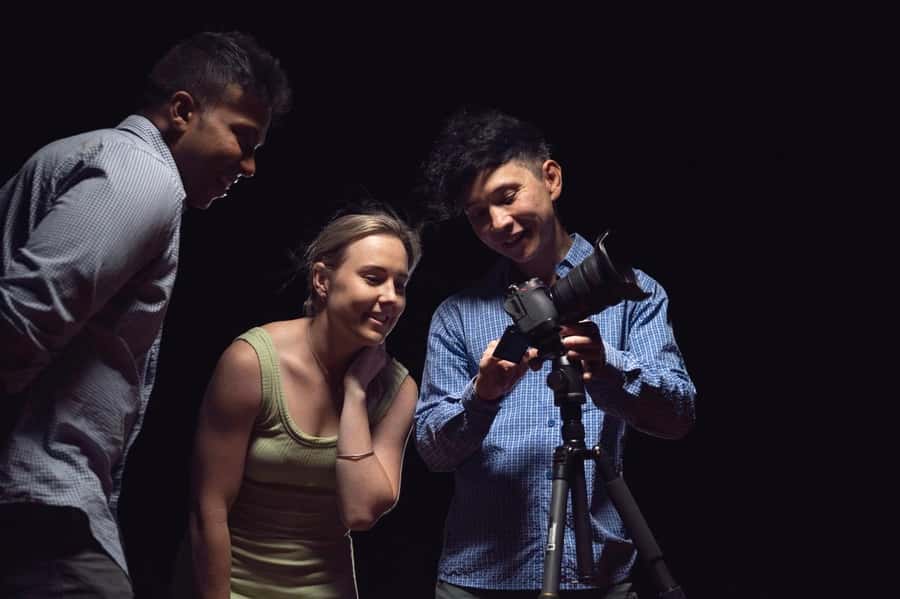
The included photo is the cherry on top for a lot of people, and it’s more than a quick snap. You’ll have a professional photograph taken with the star-filled sky and Uluru as a backdrop. It’s a digital photograph meant to be downloaded later.
It’s also worth planning for the timing. Some nights run smoothly, while others involve waiting your turn, especially if the group is larger or multiple people are being photographed in a session. If you’re sensitive to waiting, pack patience and keep your expectations realistic: one long exposure takes time, and everyone needs their moment.
How to be ready:
- Dress for night comfort so you’re not fidgeting during your photo
- Keep your face warm enough to hold still (cold makes people move)
- If you’ve got a smartphone, ask your guide how they help people set them up for night sky shots, since some nights include phone-camera tips
Price and value: why $91 can be fair (and when it’s not)
At $91 per person for 150 minutes, the value depends on what you’re chasing.
You get several things in one ticket:
- Pickup and drop-off from your accommodation
- A live guide in English or Chinese
- Telescope and binocular use
- A professional digital photo under the stars
Stargazing tours often charge extra for telescopes or photos separately. Here, those are bundled. That’s why the pricing feels fair for most people: you’re paying for equipment access plus guided interpretation plus a keepsake.
Where value can feel weaker is if you want a longer, slower session with lots of telescope time per person, or if you’re extremely bothered by waiting in groups. Also, moon brightness can reduce the number of visible stars and the drama of the sky, so your night’s results can vary even with perfect equipment.
What to pack for an outback night (and what to skip)
This is an evening in the desert, and it gets cold fast once the sun drops. You’re provided with reminders to bring practical essentials, and feedback adds a useful layer: warm gear and some form of warmth support help.
Bring:
- Warm clothing
- Closed-toe shoes
- A reusable water bottle
Good extra move: wear layers you can adjust. Reviews mention that in some seasons the evening can still feel warm at first, but it turns chilly later. If you pack light and rely on hope, you’ll probably pay for it when you stop moving.
If you love astrophotography, this is one of the few tours where you can take your own shots too. You’re encouraged to bring your own camera and tripod. That lets you experiment while still benefiting from the guide’s direction for what to aim at.
Group size and the moon: the two factors you can’t fully control
Two things can shape your evening more than people expect.
First is group size and time at the equipment. The tour is popular, and some nights can feel busy, with lines for the photo and shared telescope access. That doesn’t mean the tour is poorly run; it means your experience may be more “efficient” than “slow and private.”
Second is the moon. On nights with a bright moon, the sky can look great but show fewer faint stars. People report evenings where the moon’s brightness made it harder to see as many stars, even though the tour remained enjoyable. If you’re chasing the darkest-sky look, keep moon timing in mind when you choose your night.
Who this Uluru astro tour is best for
This tour is a strong fit if you want a guided way to experience the southern sky, not just a nighttime bus stop with a camera.
It works well for:
- Beginners who want help learning constellations and what telescope views mean
- Intermediate astronomy fans who enjoy seeing planet targets and deep-sky objects with guidance
- Families and mixed groups, because the guide’s pacing and storytelling tends to keep people engaged
- Anyone who wants a keepsake photo without needing to figure out long-exposure settings
If your main goal is solitude or maximum time at the eyepiece, you might find the setup a little crowded depending on the night. In that case, you might prefer a smaller-group format.
Should you book this Uluru astronomy tour?
Yes, if you want a structured, high-value night experience with telescope views, a skilled guide, and an included professional photo. This is the kind of activity that makes sense in a short stay because it packs the best of the night sky into 150 minutes and includes the equipment and keepsake.
I’d skip or rethink booking only if you’re extremely sensitive to waiting, or if you’re traveling when a bright moon is likely to wash out faint stars. Otherwise, for most people, this tour hits the sweet spot: you get darker skies, real equipment access, and a guide who helps you understand what you’re actually looking at.
FAQ
How long is the Uluru National Park astronomy tour?
The tour runs for 150 minutes, so you’ll have time for pickup, guided sky viewing, telescope use, and the included photo.
Is pickup and drop-off included?
Yes. Pickup and drop-off are included, and you should look for the bus with the name Atrip. Your confirmed pickup schedule is emailed to you before the tour.
Do I need to bring a National Park pass?
No. Guests do not need to bring their own National Park Pass for this tour.
Are telescopes included?
Yes. Telescope usage is included, along with binoculars for stargazing.
Is a professional photo included?
Yes. A professional digital photograph is included, taken with the star-filled sky and Uluru backdrop.
What languages are the live guides?
The live tour guide is available in English and Chinese.
What should I bring?
Bring warm clothing, closed-toe shoes, and a reusable water bottle.
Can I bring my own camera and tripod?
Yes. If you like astro-photography, you can bring your own camera and tripod to take your own shots.
What is the cancellation policy?
You can cancel up to 24 hours in advance for a full refund.
Is there free cancellation and reserve now, pay later?
The tour offers free cancellation up to 24 hours before the experience, and it also offers a reserve now & pay later option so you can book and pay later.
Is the tour only for experienced astronomers?
Not necessarily. The tour includes a live guide who explains what you’re seeing and provides telescope access, so it can work well for both beginners and people with some astronomy interest.