REVIEW · ISLAND OF HAWAII
Mauna Kea: Stargazing Experience with Free Photos
Book on GetYourGuide →Operated by Epic Tours Hawaii: Big Island Adventures · Bookable on GetYourGuide
Dark skies start the moment you arrive. This Mauna Kea stargazing experience puts you miles from the highway and then turns the night into a photo session, with James and a pro capturing astro-photos you can use later.
I especially like the combination of a true stargazing lesson and real astrophotography. Your guide uses a green laser to point out constellations and planets, then helps you pose for the best shots.
One possible drawback: this trip is outdoors and it is not suitable for people with several mobility or medical concerns, including wheelchair use and some heart and respiratory conditions, plus a weight limit of 264 lbs.
In This Review
- Quick hits before you go
- Why This Mauna Kea Stargazing Spot Feels Different
- Meeting James Near the Epic Tours 4×4 Van
- The 2-Hour Night Sky Program: Laser, Targets, and Waiting for Magic
- The Free Photos: What You Get and How to Use Them
- Dress for Summit Weather: Parka Jackets, Long Pants, and Footwear
- Price and Photo Value: Is $299 Worth It?
- Who This Tour Fits Best (and Who Should Skip)
- Should You Book This Mauna Kea Stargazing Tour?
- FAQ
- How long is the Mauna Kea stargazing tour?
- What is included with the $299 price?
- Do you get photos after the tour?
- Are photo upgrades available?
- Do I need hotel pickup?
- Where do I meet the guide?
- What should I wear or bring?
- Is the tour suitable for people with mobility or medical issues?
- What is the cancellation and payment flexibility?
Quick hits before you go
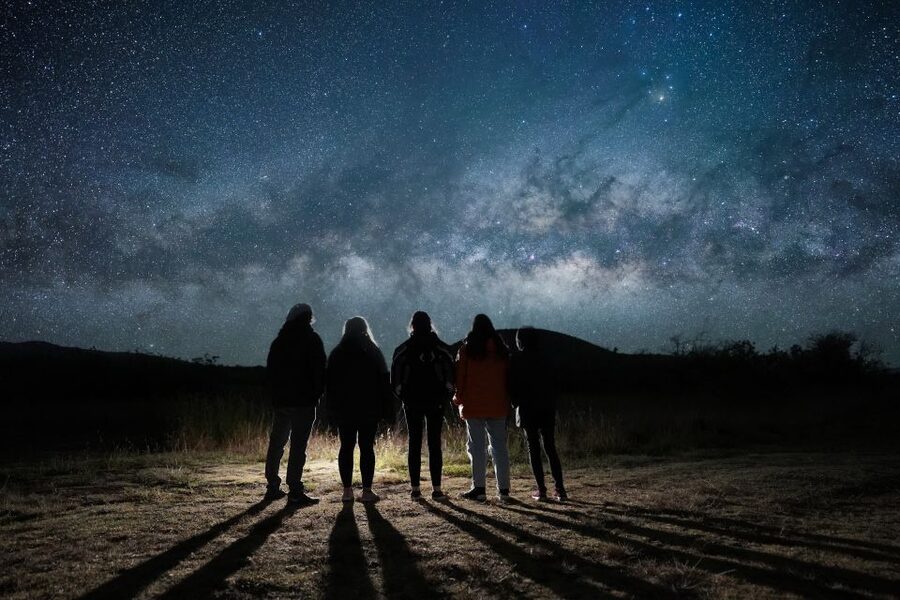
- Remote Mauna Kea access: You go to a secluded spot rather than a busy roadside area.
- James guides the sky: He’s an Analog-Astronaut who works in association with NASA.
- Green laser sky pointing: Constellations, planets, and space objects get explained in real time.
- Free pro photos: You receive 2–3 medium-resolution images edited with Lightroom.
- Warm gear included: Parka jackets are provided, and extra help with staying comfortable may be used.
Why This Mauna Kea Stargazing Spot Feels Different
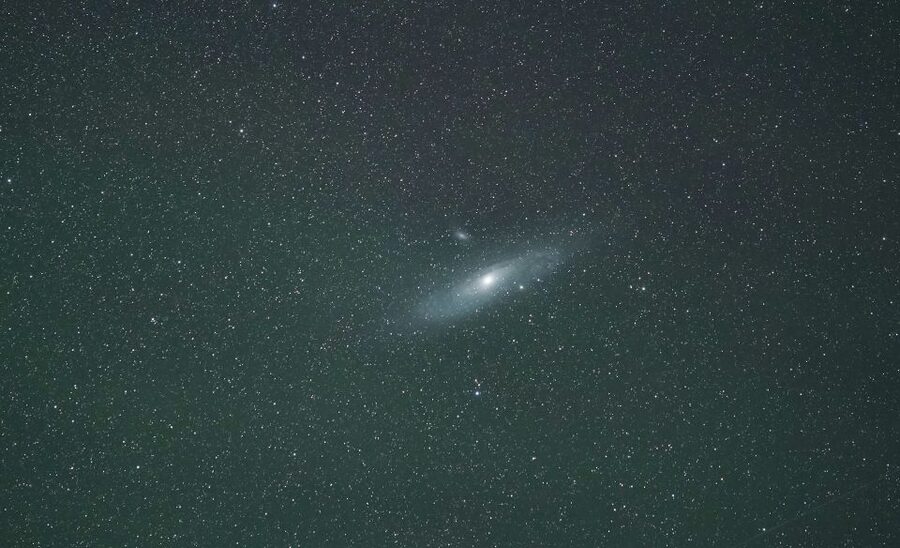
Most stargazing tours on Mauna Kea stop near roads where light leaks in. This experience is designed around the opposite idea: you get access to a remote stargazing point on the slopes of Mauna Kea, located miles from any highway. That single change matters because it helps your eyes adjust faster to the dark and makes stars feel sharper instead of washed out.
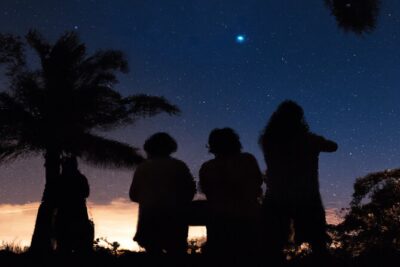
I also like the tone of the experience. It’s not just staring up and hoping for the best. James guides you through what you’re seeing—using a green laser to point out constellations, planets, and other space objects—and then you get a moment to enjoy the show for yourself. If you’re lucky, you might catch fast-moving shooting stars while you’re there.
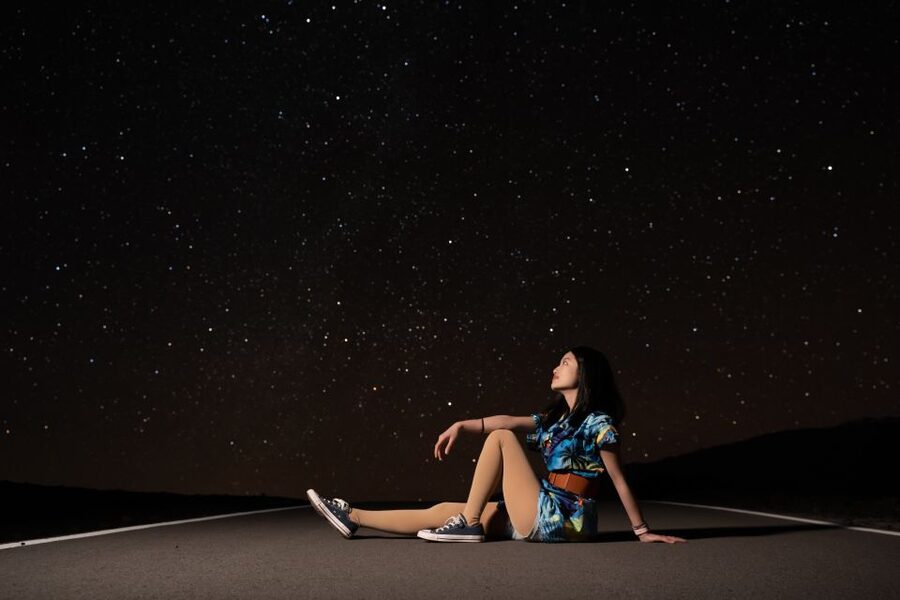
The other big reason people choose this setup is the photography side. You’re not just looking at the night sky; you’re getting professional astro-photography of you with the sky in the background. That’s the kind of souvenir that actually matches what you experienced—dark skies, real targets, and images you can share without squinting at a phone screen.
Meeting James Near the Epic Tours 4×4 Van
You’ll meet the guide, James, near an Epic Tours 4×4 van. The meeting point is close to that van, and it helps to arrive with a few minutes to spare so you can get gear sorted before it gets dark.
One practical detail: the meeting location might shift to an alternative spot 5–15 minutes away depending on weather and crowds. That doesn’t mean chaos—it’s the tour adapting to real conditions on the mountain. If you hate uncertainty, plan your evening so you’re not racing a clock.
From the start, the vibe is “ready up and go.” You grab a parka jacket, and then you get briefed on where you are and how to get the most out of the stargazing. James uses the green laser not as a gimmick, but as a way to help you connect names to objects you can actually find in the sky.
The 2-Hour Night Sky Program: Laser, Targets, and Waiting for Magic
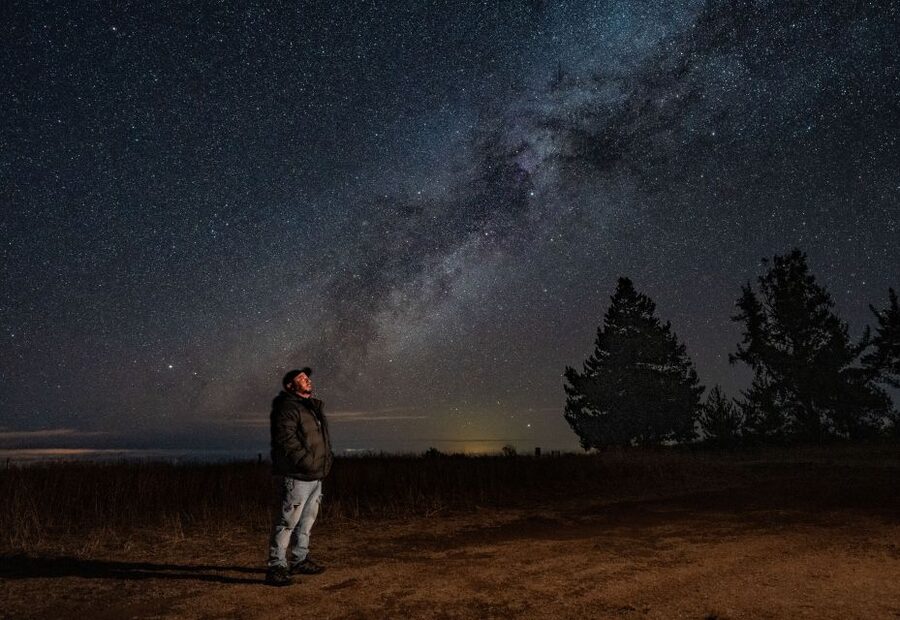
This tour runs about 2 hours, so pacing matters. You’re not given a long lecture; you’re guided through the highlights while conditions are best and the sky is doing its thing.
Here’s what the night feels like in sequence:
You start at the stargazing spot, and James points out what you should look for first. Constellations and planets usually come first, then space objects you might not recognize on your own. The laser helps you follow along quickly, which is great if you want to learn without getting lost.
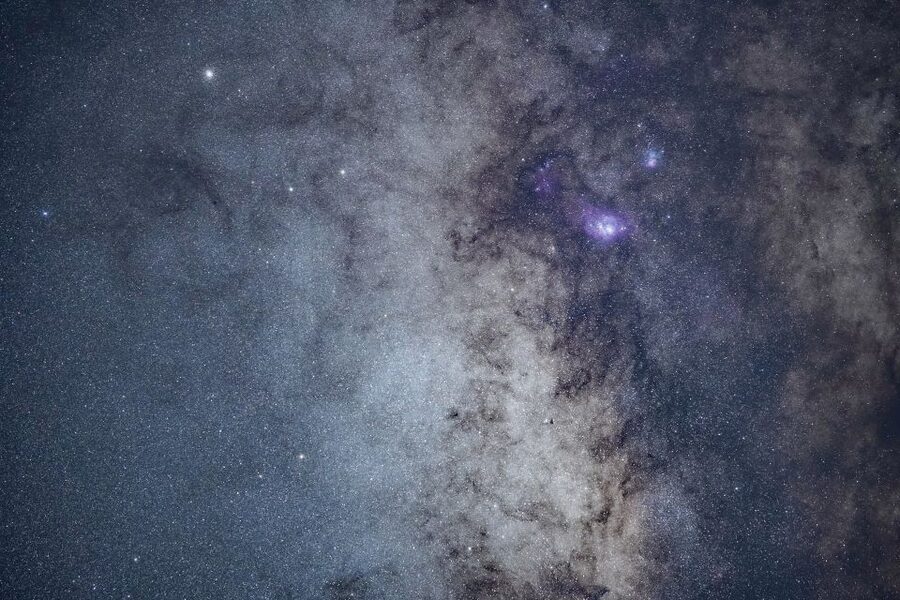
Next comes the photography portion that’s part teaching and part performance. James and the team take photos with an astro-modified camera and lens so you can see the sky in a way normal cameras struggle to capture. After that, it’s your turn: everyone gets to pose for astro-photos with the stars as the backdrop.
Shooting stars are one of those moments that can happen fast. The tour includes the hope of them, but the real value is that you stay focused upward instead of drifting into phone scrolling. With a guided flow, you’re more likely to notice the sky changes as the night progresses.
The Free Photos: What You Get and How to Use Them
The tour includes 2–3 medium-resolution photos taken during the experience. After your trip, those images are sent to you, and they’re edited in Lightroom at no extra cost.
That matters more than it sounds. Raw astrophotos are often heavy on noise and hard to interpret, especially when you’re trying to capture people plus stars. With editing, you’re more likely to get photos that look crisp enough for sharing—without you needing to buy software or learn post-processing.
You also have upgrade options if you want a bigger or cleaner file:
- High resolution photo upgrade: $99
- Ultra high resolution photo upgrade: $199
If you’re thinking about value, ask yourself one simple question: will you actually print or crop a lot? If you just want great web-ready memories, the included medium-resolution set is likely enough. If you want posters, serious crops, or higher detail for editing, the upgrades can make sense.
One more plus: since the guide helps with posing, your final photos feel intentional. You’re not just standing under a star filter looking awkward; you’re set up to look naturally part of the scene.
Dress for Summit Weather: Parka Jackets, Long Pants, and Footwear
You should assume the experience happens in chilly, high-up night conditions—after all, the tour provides parka jackets for a reason. Plan to wear long pants and closed-toe shoes so you’re comfortable on uneven ground and protected against cold air.
Shorts are not allowed. That’s not a minor rule; it’s part of keeping everyone warm enough to enjoy the 2-hour time without rushing to escape the cold.
Also, think about heat loss through hands and feet. The tour provides parkas, but you still want footwear that you can walk in for the duration. If you’re the kind of person who runs cold easily, dress as if it’s colder than you expect.
In at least some cases, blankets and extra warmth help keep people comfortable during the waiting time—so don’t feel like you’re stuck battling temperature the whole night. Your best move is still simple: wear the right base layers and keep it practical.
Price and Photo Value: Is $299 Worth It?
At $299 per person, this isn’t a cheap outing. But it also isn’t only a “watch the sky” activity. You’re paying for three things bundled together: access to a remote Mauna Kea stargazing spot, guided astronomy with a green laser, and professional astro-photography that includes edited images of you.
Let’s break down the value in a real way. You get 2–3 medium-resolution photos included, touched up with Lightroom. That’s the core souvenir. Then there are optional upgrades if you want higher-resolution files later. Compared with hiring a photographer separately, you’re also getting the guided sky time that makes the photos feel connected to what you experienced.
The remote setting also pushes the value up. Roadside tours can be more convenient, but light from nearby highways usually steals contrast from the stars. This tour’s main selling point is dark skies from a secluded spot, miles from the highway. If that’s your goal—photos that look like night sky, not night glare—you’re paying for the atmosphere and the access.
If $299 is a stretch, consider how much you care about photos. If you don’t care about getting images with the sky behind you, there are cheaper ways to stargaze. If you do want both the guidance and the camera work, the included photos help justify the price.
Who This Tour Fits Best (and Who Should Skip)
This tour is designed to be fun for all ages, but the fine print is important. It is not suitable for:
- Wheelchair users
- People with mobility impairments
- People with back problems
- People with heart problems
- People with respiratory issues
- People with pre-existing medical conditions
- People over 264 lbs (120 kg)
So if you have any of those considerations, take the listing rules seriously and choose a different kind of outing that matches your needs.
I’d also say it’s best for people who want structure. If you enjoy learning while you look up—and you’d like help finding constellations and planets—James’s green-laser guidance makes a big difference. If you only want quiet, solo stargazing with no instruction, you might find the guided flow less your style.
On the other hand, if you want a memory you can actually share—photos with you in them, not just star trails—this is a strong match. The combination of guiding plus professional astro-photography is what makes it feel like more than a walk outside.
Should You Book This Mauna Kea Stargazing Tour?
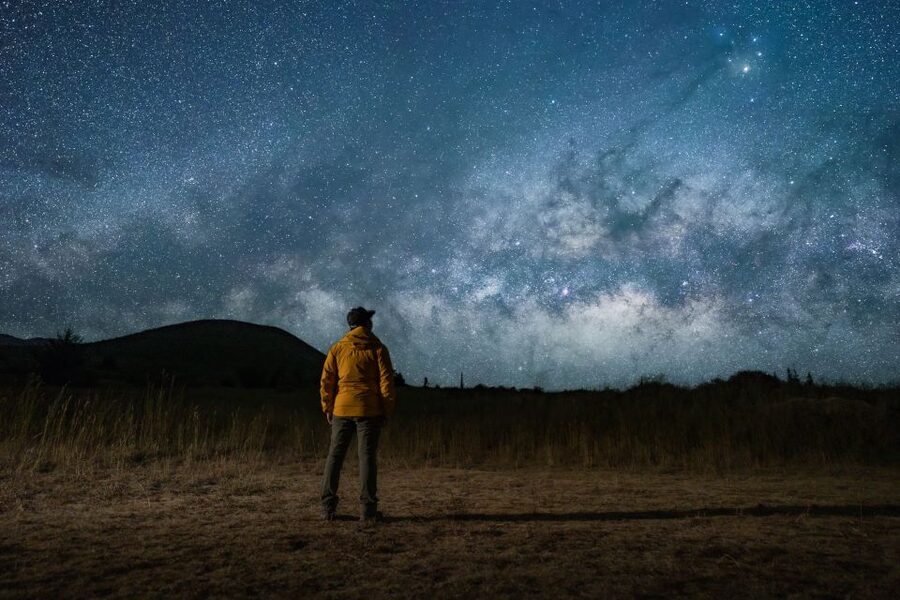
Book it if you want dark-sky stargazing from a remote Mauna Kea spot, plus you want professional astro-photos of yourself and the included edited files. The presence of James, an Analog-Astronaut working with NASA, adds credibility and explains why the instruction feels structured instead of random.
Skip it if you have any of the stated medical or mobility limitations, or if you hate being outdoors for a couple hours in summit conditions. Also skip it if photos don’t matter to you, because the included value centers heavily on that 2–3 image set.
If you’re traveling to the Big Island for one “star story” that turns into keepsakes, this is a good choice. Just plan your evening so you can follow directions, dress properly, and stay patient while the sky does its work.
FAQ
How long is the Mauna Kea stargazing tour?
It lasts about 2 hours.
What is included with the $299 price?
You get a tour guide (James), a parka jacket, and 2–3 medium-resolution photos from the trip.
Do you get photos after the tour?
Yes. You receive 2–3 medium-resolution photos after the experience, edited with Lightroom.
Are photo upgrades available?
Yes. There are upgrades for high resolution ($99) and ultra high resolution ($199).
Do I need hotel pickup?
No. Hotel pickup and drop-off are not included.
Where do I meet the guide?
Meet near an Epic Tour 4×4 van. The meeting point might shift to an alternative location 5–15 minutes away depending on weather and crowds.
What should I wear or bring?
Bring long pants and closed-toe shoes. Parka jackets are provided. Shorts are not allowed.
Is the tour suitable for people with mobility or medical issues?
No. It is not suitable for wheelchair users, and it also isn’t suitable for people with back problems, mobility impairments, heart problems, respiratory issues, pre-existing medical conditions, or for those over 264 lbs.
What is the cancellation and payment flexibility?
You can cancel up to 24 hours in advance for a full refund. You can also reserve now and pay later.