REVIEW · BUSAN
Best Busan night views : Mountain observatory streets
Book on Viator →Operated by Dorawayo experience activity · Bookable on Viator
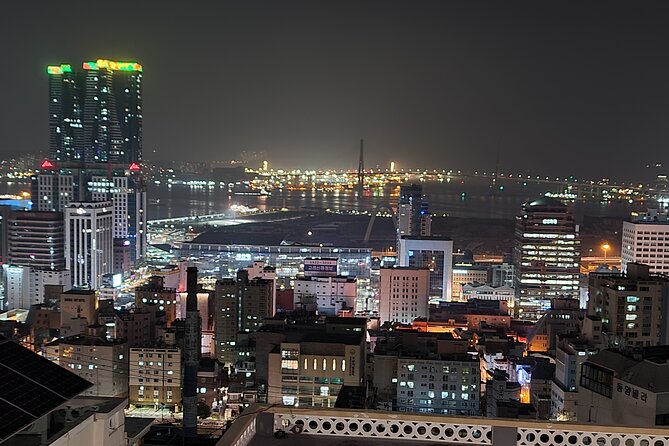
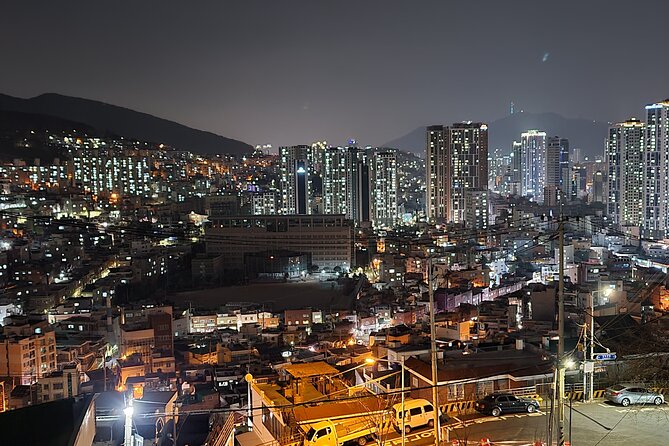
Busan at night feels different when you walk the ridge with locals. This tour strings together photo-friendly stops in the older mountain neighborhoods, so you get night views plus street-level sights.
I love the mountain observatory-style pacing: you’re not just standing in one spot, you’re moving along the ridge and collecting views as the city lights change. I also like the focus on photos, with professional lighting and a route known for night decor and viewpoints. One thing to consider: it’s still a night walking tour. Plan for uneven steps and a solid 6 km stretch along Mangyangro (and check footwear), and remember it depends on good weather.
In This Review
- Key Things You’ll Notice on This Night Views Walk
- Why This Busan Night Views Walk Works (Even If You Hate Waiting)
- The Route You’ll Walk: Beomnaegol to the Mountain Streets
- Stop-by-Stop: What Each Night View Spot Adds
- BIFF Square: Your Night-Night Anchor
- Yu Chi-hwan Postbox Observatory: A Photo Stop With Local Charm
- 168 Stairs: Where the City Looks Like It’s Been Turned Up
- Webtoon Bagu-gil: Night Decor That Feels Like Busan’s Pop Culture
- Sky Eyes Observatory and Kim Minbu Observatory: Two Flavors of Looking Out
- Geumsusa Temple: A Quiet Pause in the Middle of the Night City
- Ending Point: Jagalchi Fish Market vs. Back to Start
- The Photo System: Lighting, Timing, and How to Get Better Shots
- Comfort and Safety: What’s Provided (and What You Provide)
- Price and Value: $55 for a 3.5-Hour Ridge Adventure
- Who Should Book This Tour
- Practical Tips Before You Go
- Should You Book This Busan Night Views Tour?
- FAQ
- How long is the Busan night views walk?
- Where do I meet the tour?
- How far will we walk?
- What are the included sights?
- What does the tour include?
- Is dinner included?
- What’s the group size?
- Does the tour help with night photography?
- What if the weather is bad?
- Is free cancellation available?
Key Things You’ll Notice on This Night Views Walk
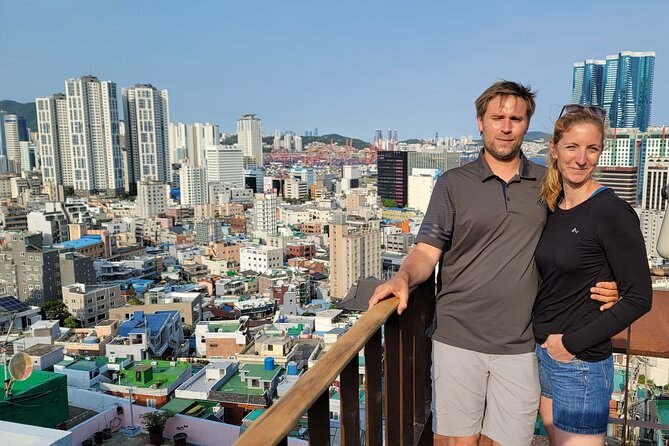
- Ridge-road perspective: you see Busan from the mountain spine, not from a single viewpoint
- 6 km along Mangyangro: a meaningful walk with ocean-side vibes built into the route
- Multiple photo stops: observatories plus street scenery, so you’re never without something to shoot
- Photo help included: professional lighting for better night pictures
- Small group pace: maximum 8 travelers, which makes the walk feel relaxed
- Safety basics provided: reflective straps plus bottled water
Why This Busan Night Views Walk Works (Even If You Hate Waiting)
If you’ve ever tried to plan Busan nights around one “best view” spot, you know the problem: you show up, you wait, the light shifts, and you’re stuck repeating the same photo. This is different because the route is built around movement. You walk the ridge-road streets like locals do, and the city keeps unfolding behind you.
It also helps that this is a night tour with specific visual targets. You’re going to pass through areas where the atmosphere is part of the show—webtoon-decorated streets, night-lit viewpoints, and old-city corners tucked into the mountain center. The result is a tour that feels like Busan at street level, not just Busan from above.
One more practical win: the group size is capped at 8 travelers. That usually means fewer slowdowns, more chances to stop for photos without feeling rushed, and it’s easier to hear the guide’s explanations.
The Route You’ll Walk: Beomnaegol to the Mountain Streets
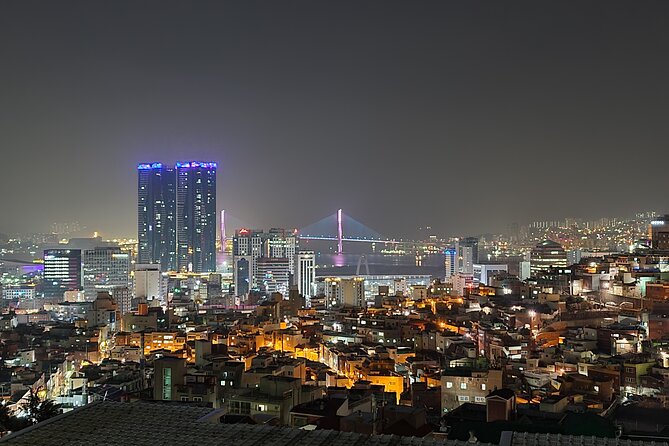
You meet at Beomnaegol Station, Exit 5. From there, you’ll walk along Mangyangro—literally the road where you can see the ocean—for about 6 km.
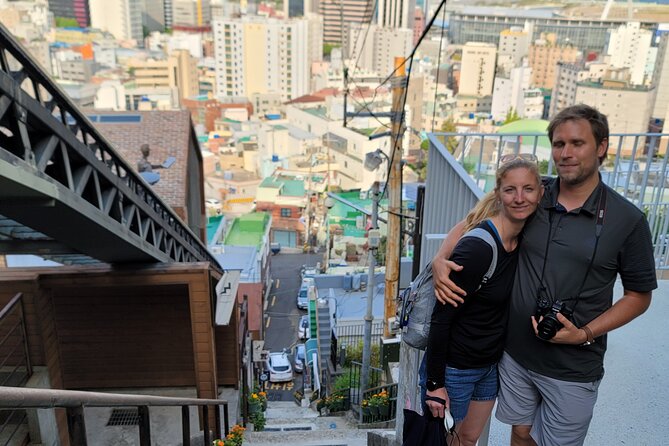
Mangyangro is a great clue for what the walk feels like. It’s not an inside-the-mall stroll. You’re moving through mountain neighborhoods, and the route gradually gives you broader city views as the lights turn on. Reviews also point out that you’re walking on streets that feel lively at night: there can be small shops and coffee spots along the way, which makes breaks feel normal instead of forced.
Is it hard? The tour details call it a night walking experience with a ridge focus. In practice, you should treat it like a light hike with some steps. One review described the route as fairly flat and not very tiring, while other stops like stair landmarks suggest you still need comfortable shoes.
Stop-by-Stop: What Each Night View Spot Adds
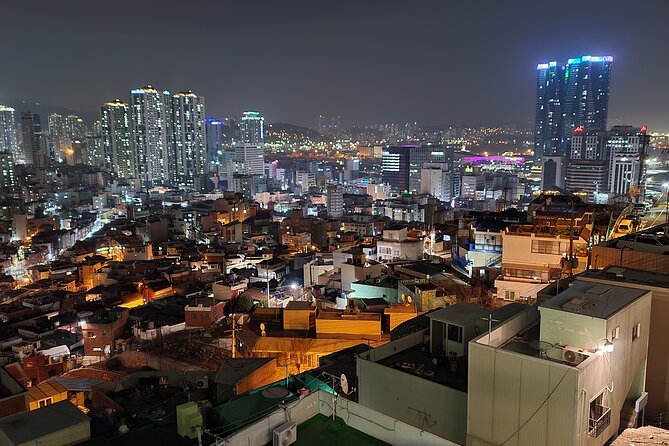
Below is the order you can expect to recognize once you’re on the walk. Some stops blend together (street sections and viewpoint sections), but each named place has a clear purpose: views, photo angles, or a story from the old city.
BIFF Square: Your Night-Night Anchor
BIFF Square is your first listed stop. It works well early or mid-walk because it’s a more recognizable public square vibe—good for settling your bearings before the mountain viewpoints start pulling focus. It’s also a natural contrast point: street energy and signage, then you move toward quieter ridge streets and elevated views.
If you like photos with both people-life and city lighting, this is the stop that can give you that mix.
Yu Chi-hwan Postbox Observatory: A Photo Stop With Local Charm
Next up is the Yu Chi-hwan Postbox Observatory. Even without going deep into legend, a postbox observatory is the kind of place that turns a normal viewpoint into something photo-worthy and themed. Think: quick scene, quick skyline shot, and a satisfying moment because it feels specific to Busan rather than generic city lights.
This is the kind of stop that makes the tour worth it, because it gives you a reason to pause—then you keep moving.
168 Stairs: Where the City Looks Like It’s Been Turned Up
Then you hit 168 Stairs. Stairs are always the “choose your comfort level” part of a walking tour. If you’re okay with short climbs, this is where the night view payoff starts feeling real. Even if you’re not aiming for a summit-style shot, the change in elevation helps you frame Busan’s lights differently than the street-level sections.
If you’re the type who likes to keep moving but still wants at least one classic photo-moment, this stop usually delivers.
Webtoon Bagu-gil: Night Decor That Feels Like Busan’s Pop Culture
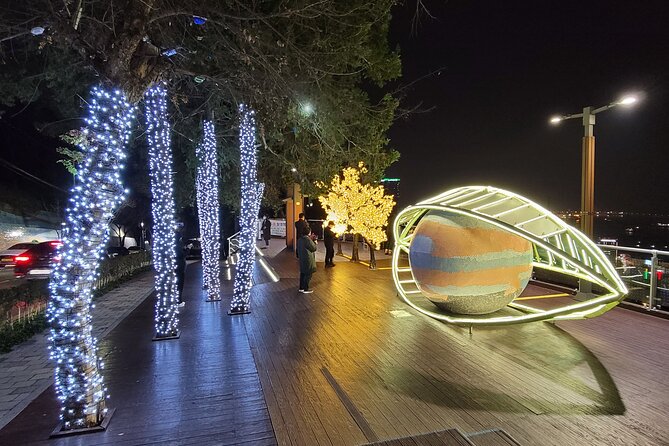
Another highlight included on the tour is Webtoon Bagu-gil. This is the kind of street where the visuals aren’t only about the view—they’re about the walk itself. Reviews mention walking through streets decorated with webtoons, and that the decorated route made the overall experience feel more fun and less like chores.
If you’re traveling as a couple or a small group, this is where you’ll likely slow down naturally to photograph details in addition to the skyline.
Sky Eyes Observatory and Kim Minbu Observatory: Two Flavors of Looking Out
You’ll also visit observatory-style viewpoints, including Sky eyes Observatory and Kim Minbu Observatory. Two observatories matter because they can give you different framing. One might feel more open for wide skyline shots; another might offer a denser “lights up close” feel.
This is also where the tour’s photo help shows up most clearly. The organizers prepare professional lighting so your night photos look intentional instead of grainy and dim.
Geumsusa Temple: A Quiet Pause in the Middle of the Night City
The itinerary also includes Geumsusa temple. This is a good counterbalance. When you spend hours in night streets and photo stops, you eventually want a slower, calmer moment. A temple stop breaks the rhythm and adds atmosphere—less neon, more stillness. Even if you’re not a temple expert, it gives your photos texture and gives your legs a chance to reset.
Ending Point: Jagalchi Fish Market vs. Back to Start
The tour description says it finishes at Jagalchi fish market subway station, but the activity notes also indicate it ends back at the meeting point. Because those two details conflict, you should double-check your confirmation or voucher instructions for the exact ending location. Either way, you’ll finish in an area where getting onward is straightforward by subway.
The Photo System: Lighting, Timing, and How to Get Better Shots
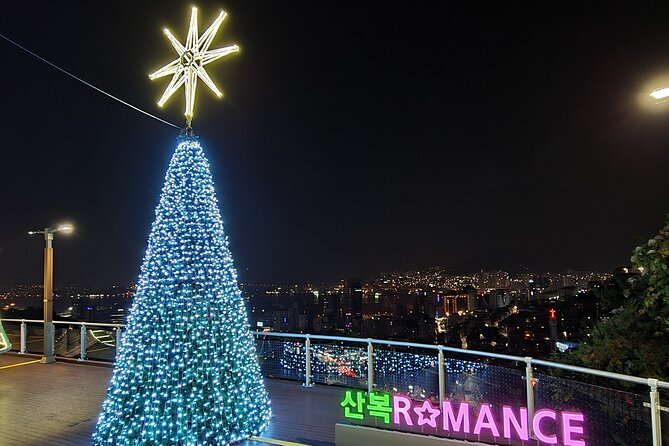
Night views can be tricky. The city is bright, but your phone often hunts for focus and underexposes the darker mountain streets. That’s where this tour helps.
You’ll have professional lighting prepared to support night photography, and the route is designed around viewpoints and pauses where you can actually use it. Reviews also mention a rooftop highlight at the Donggu Library, which reinforces the idea that you’ll get angles beyond just rooftop-skyline clichés.
What you should do:
- Keep your camera ready before you reach the viewpoint, not after.
- Take one wide shot first, then move closer for a second frame with city lights filling the background.
- If your phone struggles at night, try switching to a night mode and holding steady for the extra second it asks for.
Also, a small but real note: one review mentioned the guide prepared mosquito repellent. That kind of small preparation makes night tours feel less unpredictable.
Comfort and Safety: What’s Provided (and What You Provide)
Included in the tour:
- Bottled water
- Reflective straps for safety during the tour
That’s a sensible pairing for a night walk. Water keeps you from dragging. Reflective straps help you be seen, which matters on street sections where lighting might not be even.
What you provide:
- Comfortable walking shoes (you may face stairs)
- Weather-ready clothing (it’s a night tour and weather matters)
- A small bag for your phone/camera so you can move quickly at photo stops
The tour also runs in a “good weather” condition. If the weather turns poor, you’ll be offered a different date or a full refund, so don’t assume you’re locked into one night no matter what.
Price and Value: $55 for a 3.5-Hour Ridge Adventure
At $55 per person for about 3 hours 30 minutes, this tour isn’t trying to be the cheapest thing on the map. But it also isn’t overpriced for what you get.
Here’s the value logic:
- You’re paying for a guided night route through multiple named photo spots, not just one stop.
- You get photo support with professional lighting, plus a small group cap at 8 travelers.
- You also get practical safety basics and water, which helps when you’re out in the evening for hours.
You should consider it good value if you want structure. If you already have a plan to self-guide Busan’s night observatory hopping, you could technically save money. But you’ll be doing the hardest parts yourself: sorting route flow, timing, and figuring out where photos look best.
Who Should Book This Tour
I’d point you toward this tour if:
- You want night views plus street-level Busan texture (not only skyline points)
- You enjoy walking routes and you don’t mind some stairs
- You like taking photos and want help getting better night shots
- You’d rather do a small-group guided walk than a big bus tour
You might skip it if:
- You hate stair-heavy sections or you’re dealing with mobility limits
- You’re looking for a totally low-walking evening
- You expect an all-transport-included, minimal-footwork night plan
Practical Tips Before You Go
A few small moves can make the tour feel smoother:
- Wear shoes you trust on night streets and steps.
- Bring a fully charged phone/camera battery.
- Dress for night air changes—mountain areas can feel cooler than you expect.
- If you’re prone to motion blur at night, keep your hands steady and let the camera settle for a moment.
If you’re traveling on a tight schedule, use the meeting point location at Beomnaegol Station and plan your dinner outside this tour. Dinner is not included, so you’ll want a plan either before or after your 3.5-hour walk.
Should You Book This Busan Night Views Tour?
I think this is a smart booking if you want your Busan night to feel active and scenic. The big reason is the combination: ridge walking + multiple named viewpoints + photo help. You’re not just looking at lights—you’re collecting them as you move.
The only real caution is weather and walking comfort. If the forecast looks shaky or you’re not comfortable with night stairs, you might feel stressed instead of enjoying the views.
If you want an evening that feels like Busan rather than a single postcard stop, this is the kind of tour you’ll remember for the way the city lights unfold along the mountain roads.
FAQ
How long is the Busan night views walk?
It’s about 3 hours 30 minutes.
Where do I meet the tour?
You meet at Beomnaegol Station, Exit 5.
How far will we walk?
The route includes a walk of about 6 km along Mangyangro.
What are the included sights?
The tour includes stops such as BIFF Square, Yu Chi-hwan Postbox Observatory, 168 Stairs, Webtoon Bagu-gil, Sky eyes Observatory, Geumsusa temple, and Kim Minbu Observatory.
What does the tour include?
It includes bottled water and reflective straps for safety.
Is dinner included?
No, dinner is not included.
What’s the group size?
The tour has a maximum of 8 travelers.
Does the tour help with night photography?
Yes. Professional lighting is prepared to help you take great pictures.
What if the weather is bad?
This experience requires good weather. If it’s canceled due to poor weather, you’ll be offered a different date or a full refund.
Is free cancellation available?
Yes. You can cancel up to 24 hours in advance for a full refund.